
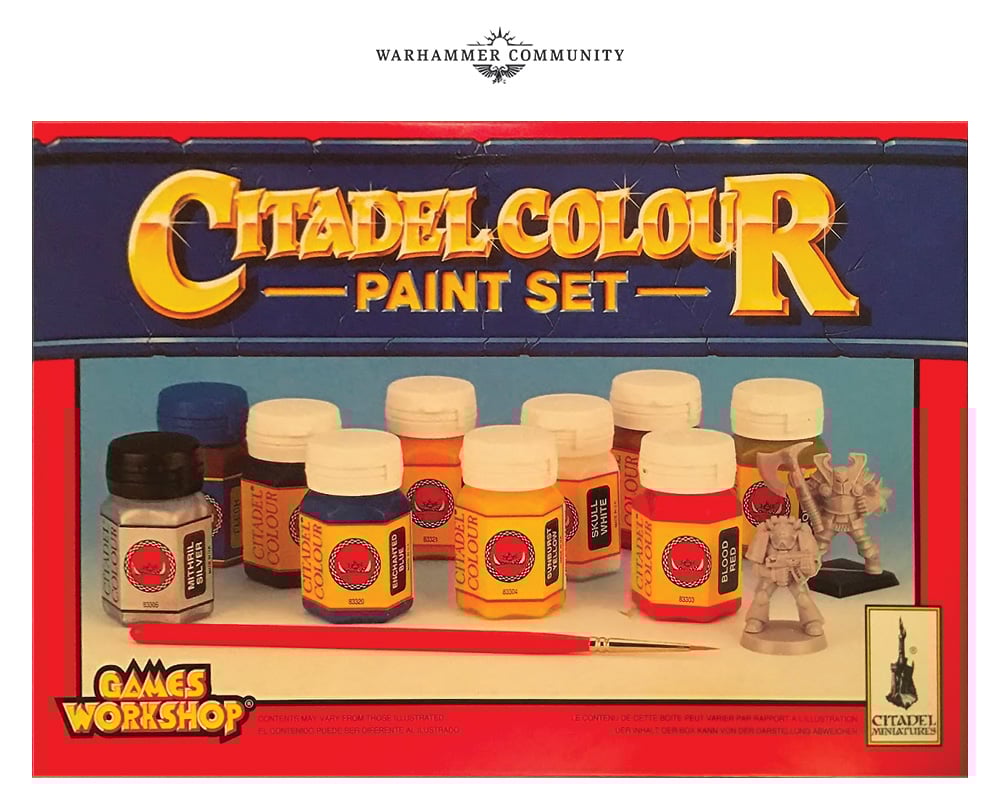
Warcolour’s have dropped another bombshell on the market. After their successful Nostalgia ’88 line replicating the Citadel 1988 paint range, they have now set their eyes on the next evolution. Thus we have received Nostalgia ’94, aiming to replicate the 1994 Citadel paint range, famous for their hexagonal pots.
Before we proceed, this is not a full review. Warcolours has so far only released 10 paints, replicating the classic paint set that came with a Chaos Warrior and Space Marine. Once the full line is released I will be trying to get them all and do a proper review of them.
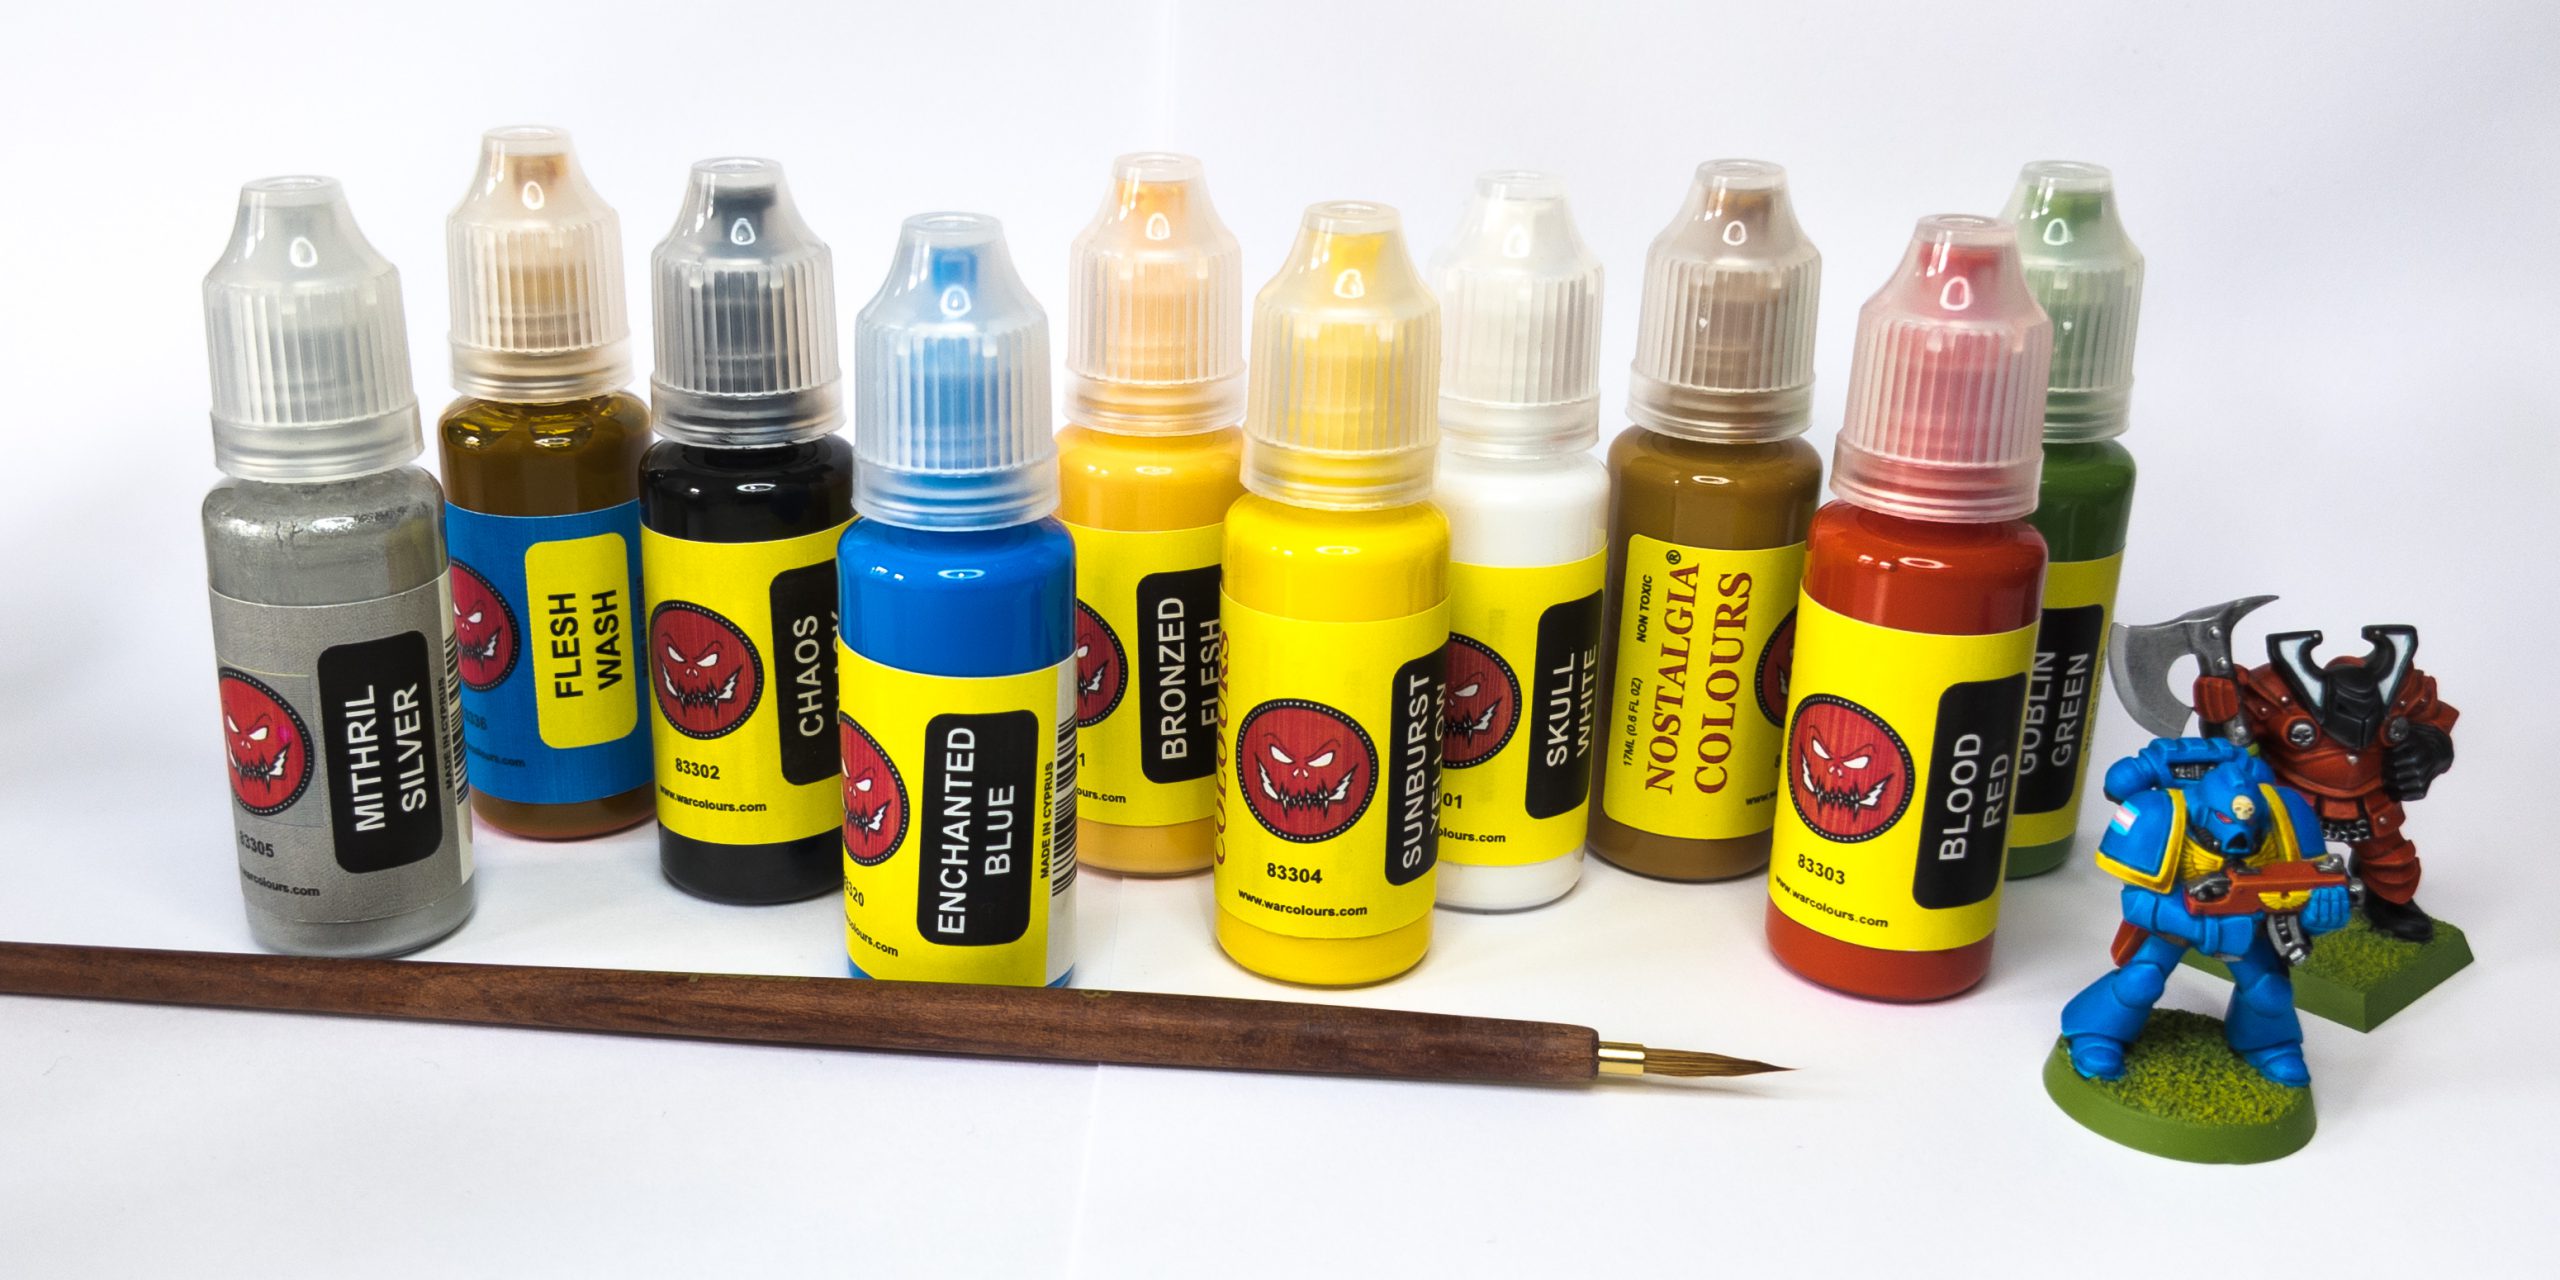
The starter set comes with 10 pots of paint, sadly unlike the ’88 line that had matching pots to the originals, these paints are in dropper bottles. Roughly equal in size to Vallejo’s, but a bit firmer and with a different kind of nozzle (If your LFGS recently had to empty out their entire Vallejo Game Color rack and add a new one, they now have space to stock some of these paints ;3). The set includes: Chaos Black, Blood Red, Skull White, Enchanted Blue, Sunburst Yellow, Mithril Silver, Flesh Wash, Bronzed Flesh, Goblin Green and… Serpentbite Leather? Seems the Snakebite clan continues to have ferocious copyright lawyers. Besides the paints, you also receive a Warcolours #3 Brush and a little pamphlet with all the paints in this range (lots to come).
How do we put them to the test? Simple. We’re painting what they were meant to paint! I just so happened to have the Chaos Warrior and Space Marine on hand that came with the original set, so quick assembly, basing and let’s go!
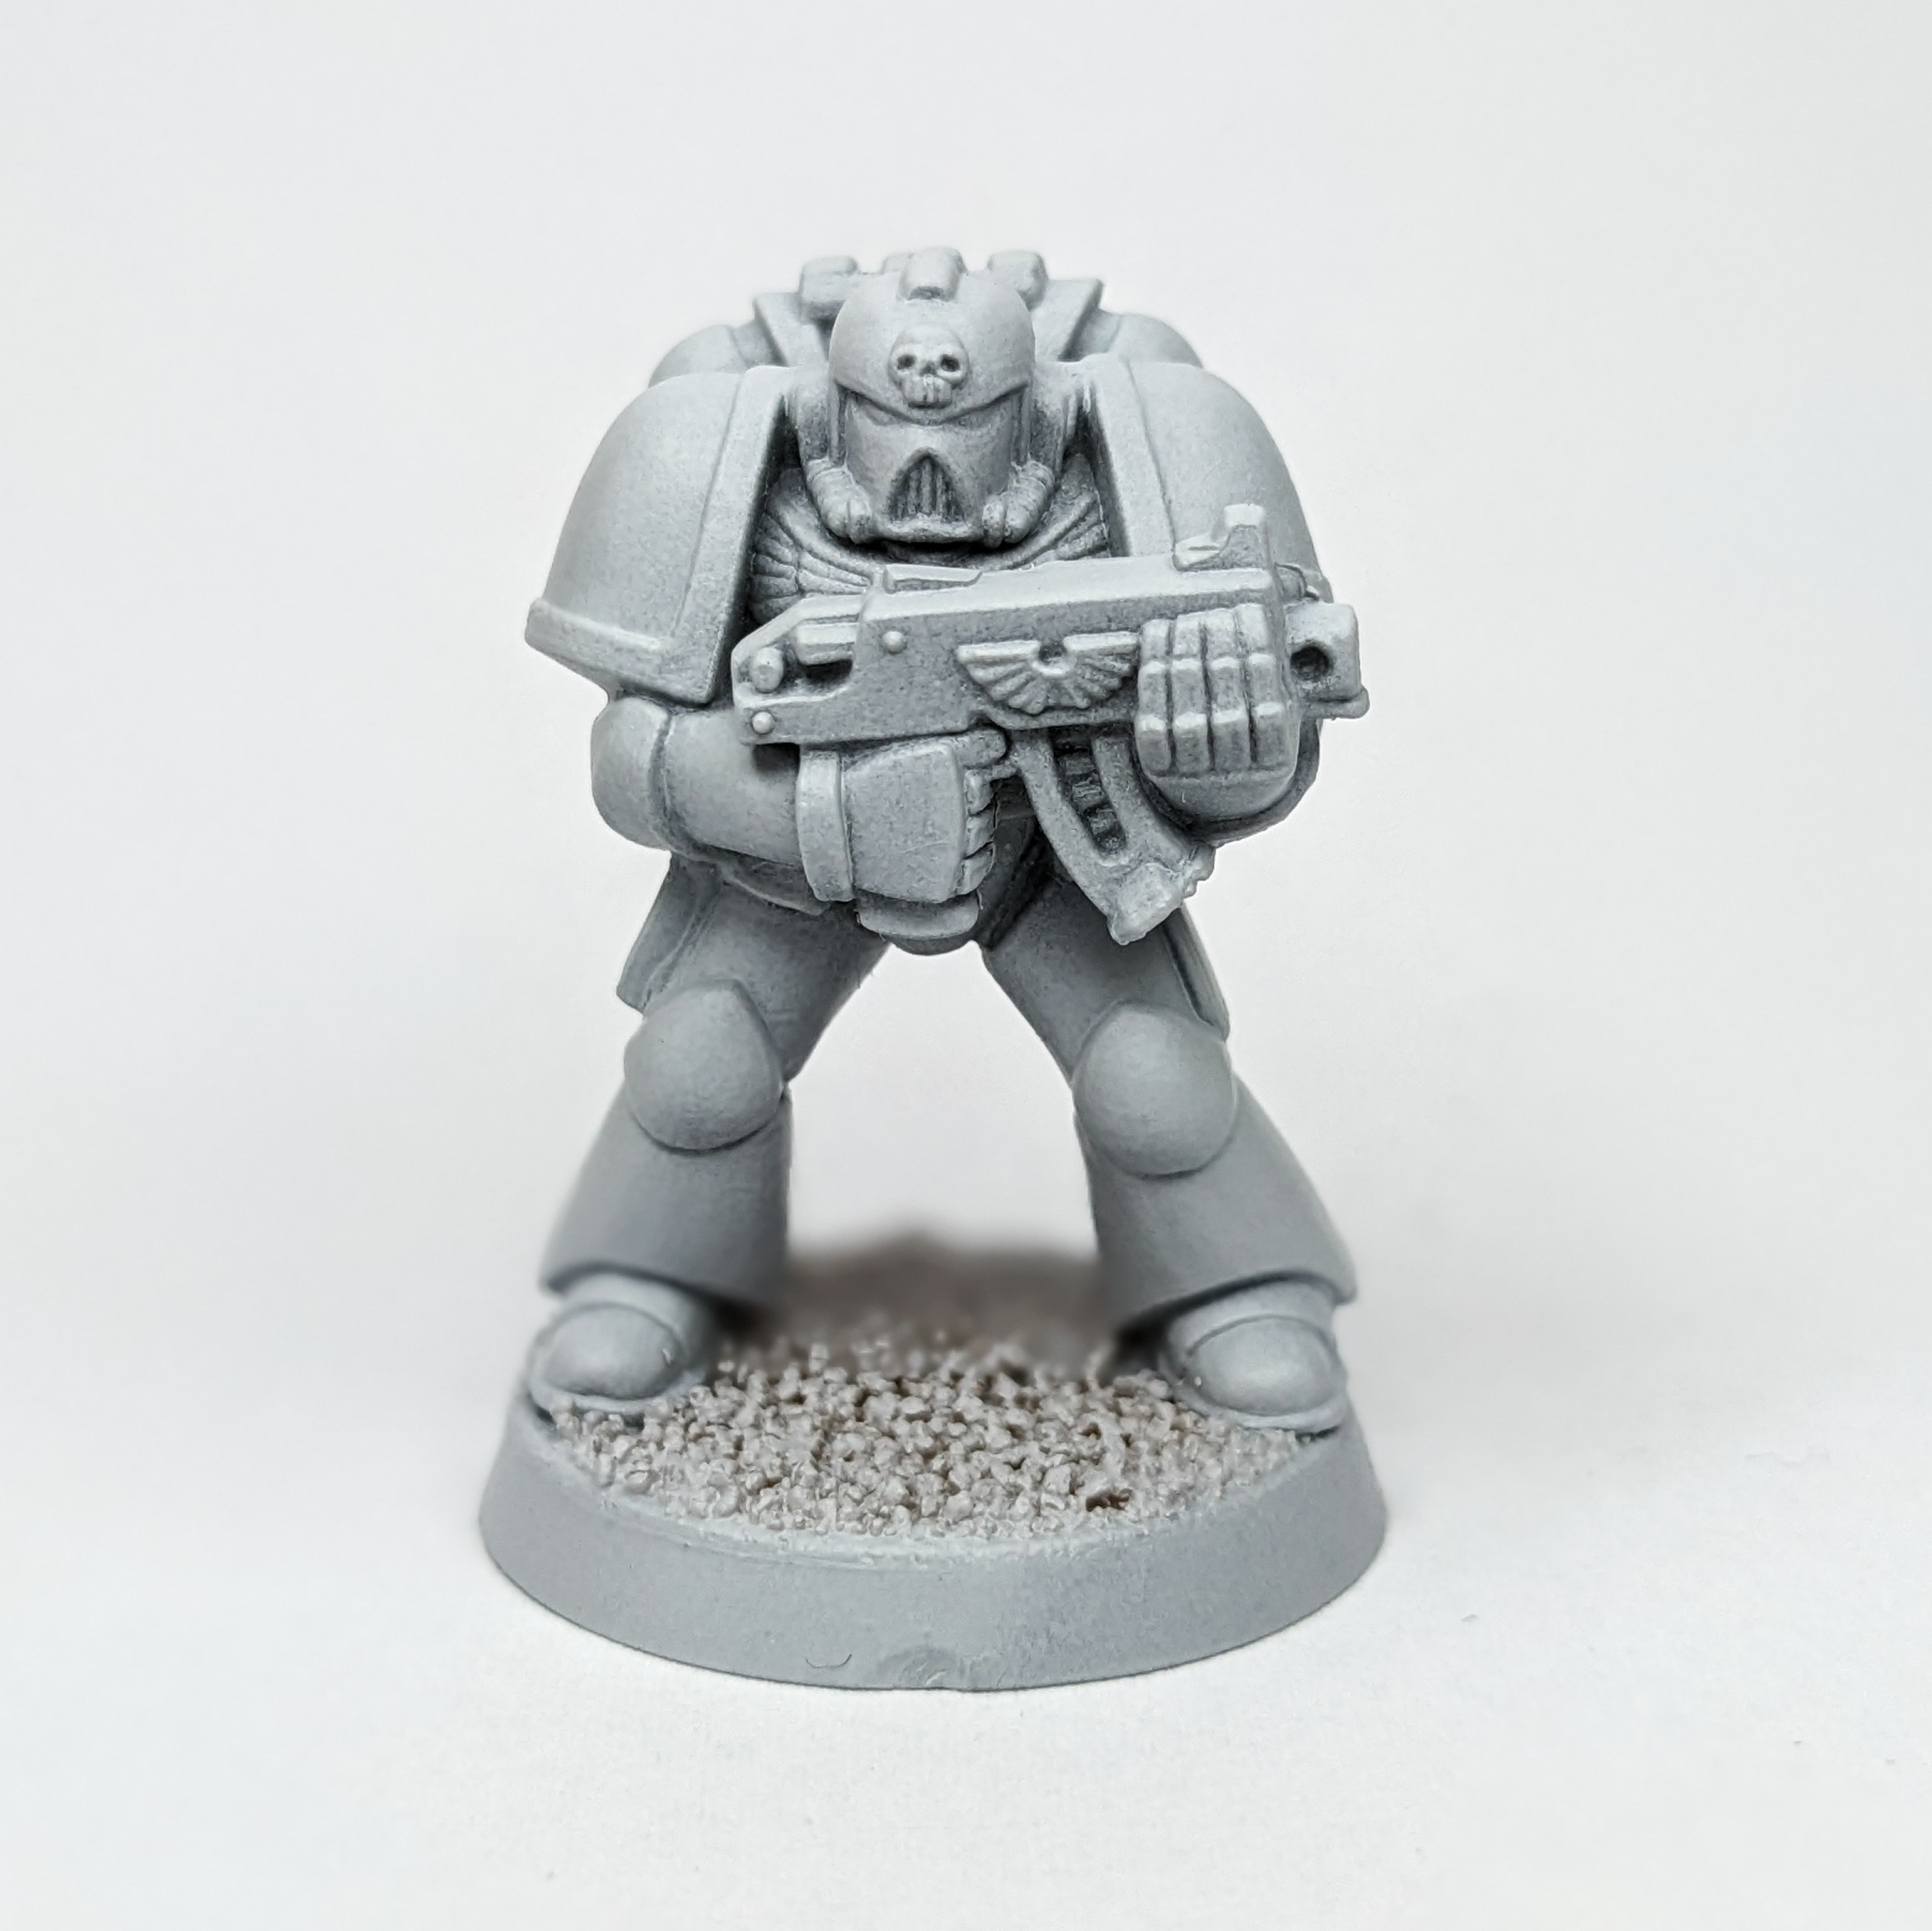
First, the marine. My painting process was broadly inspired by Midwinter Minis review of the original set. Starting out a white prime was in order, as I lack an airbrush and my LFGS hasn’t been able to stock White Scar since release, I had to use my Corax White. Which sadly is just a little off-white which becomes more of an issue as these paints require a very light base coat.
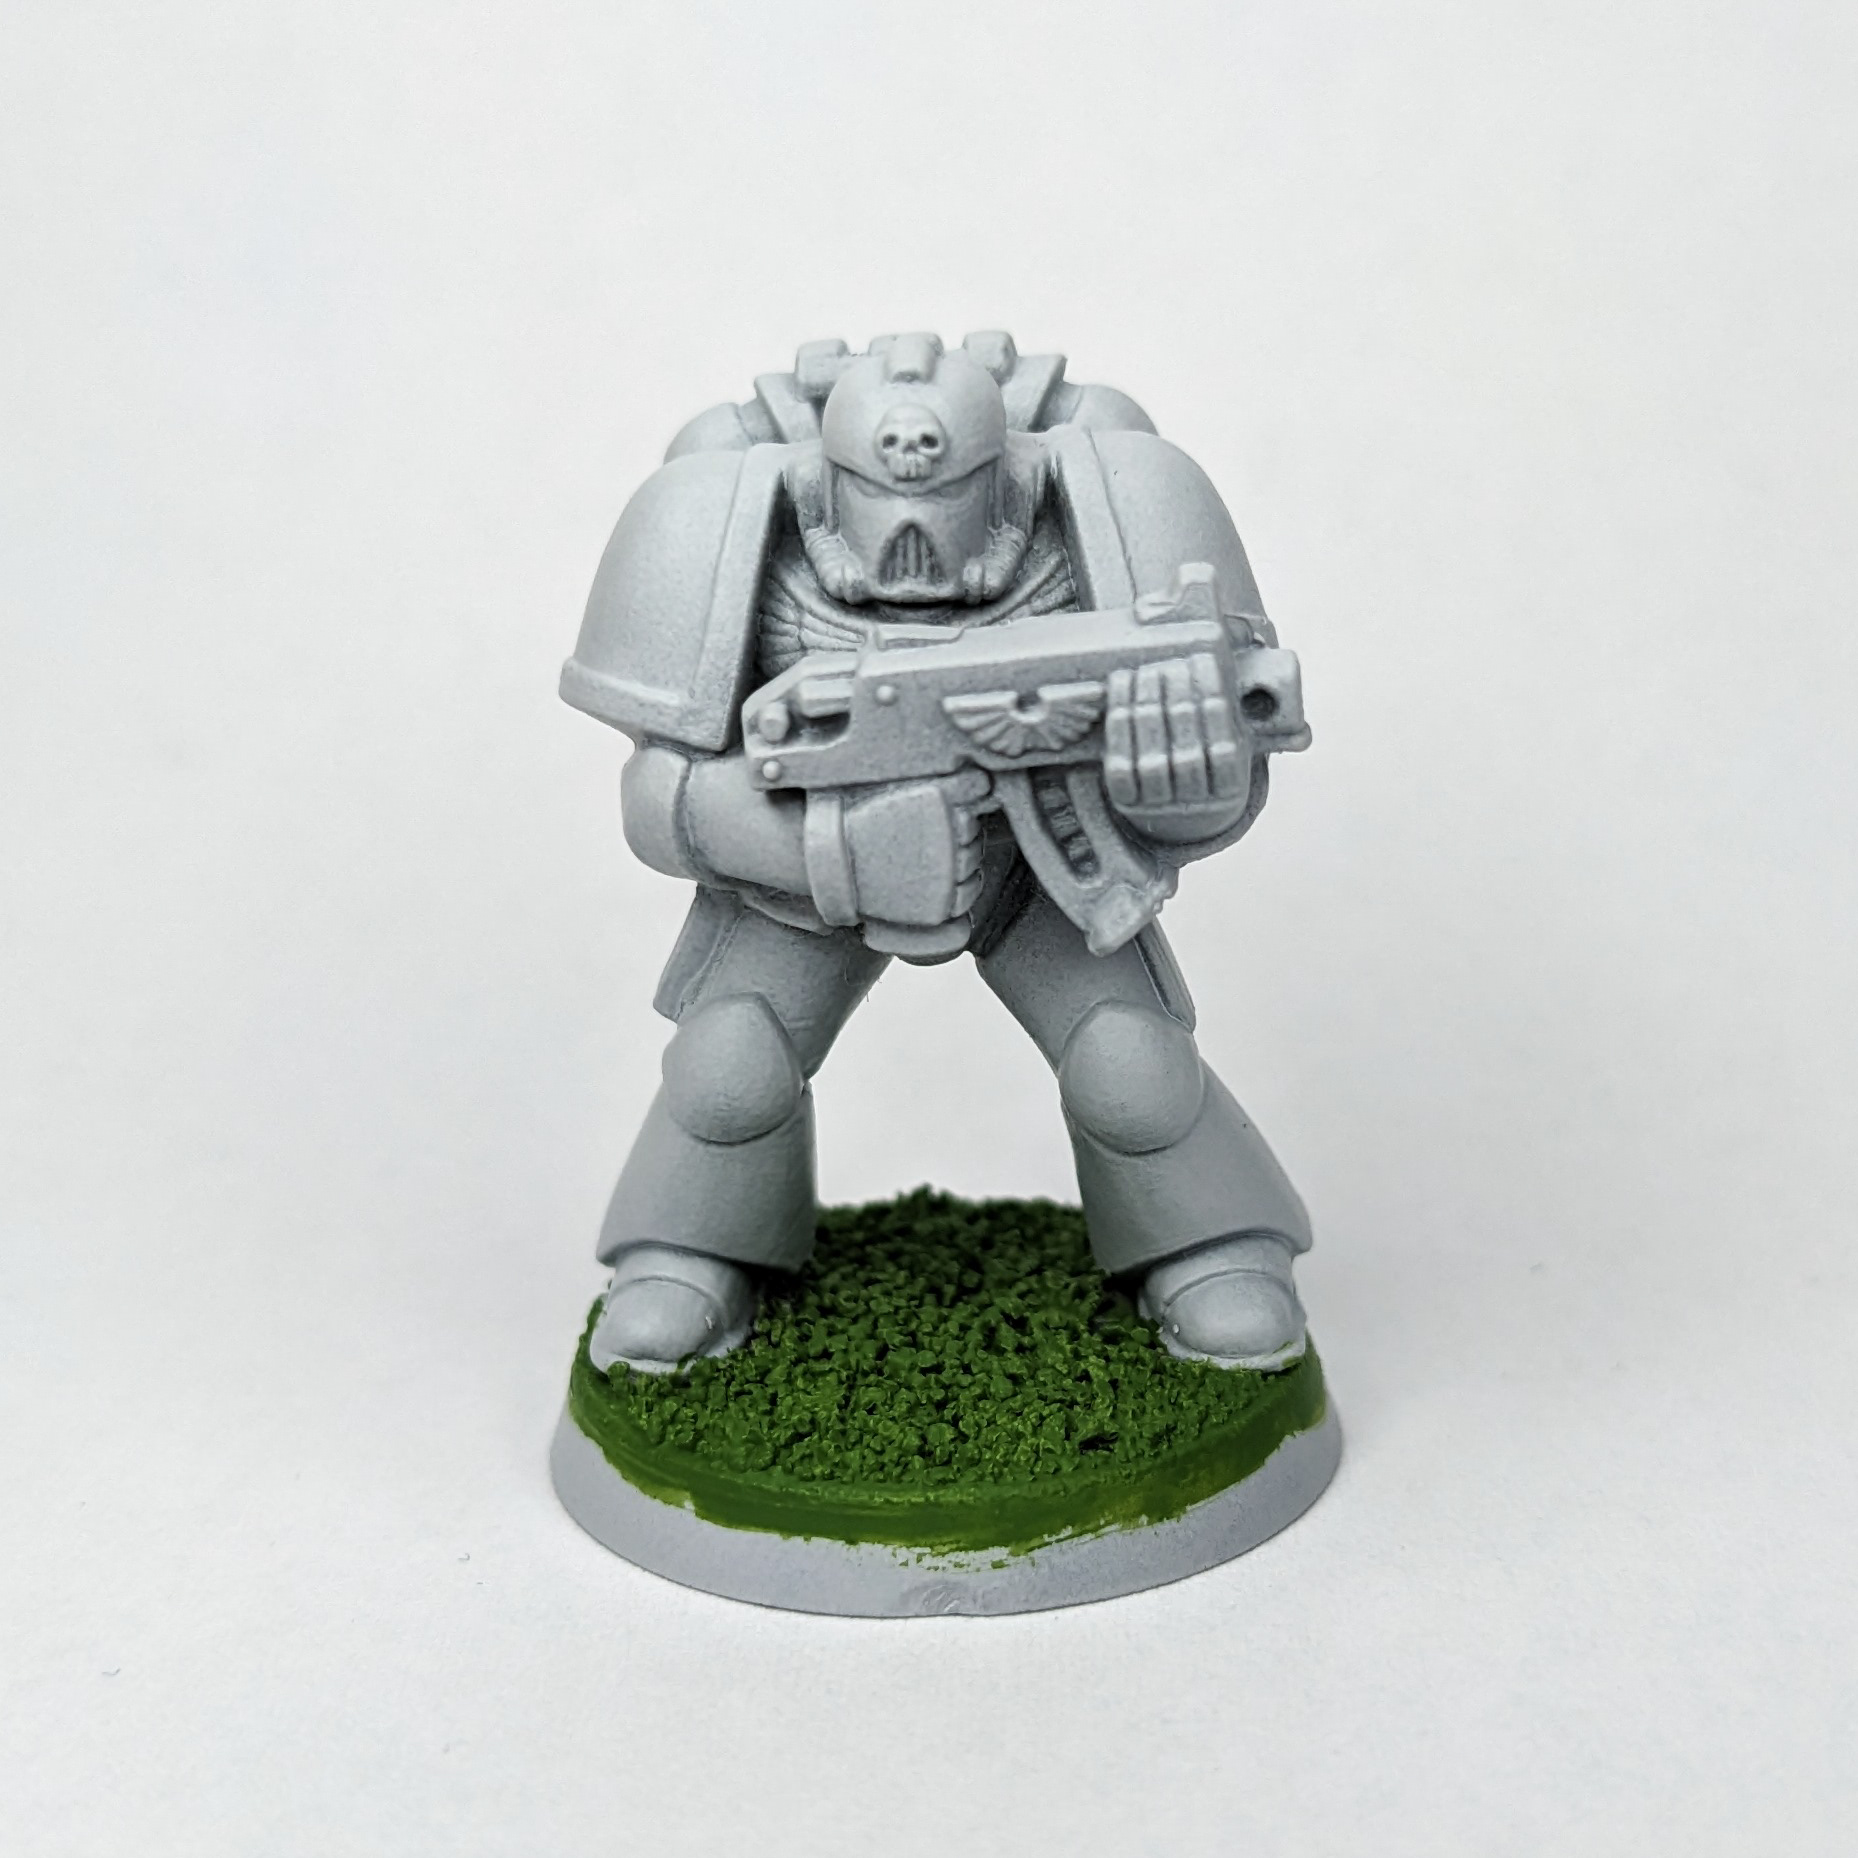
Now, the paint we all want to know about: GOBLIN GREEEEEN! I’ve painted the sand with Goblin Green and coverage is pretty good. It took about two to three coats to cover, similar to most modern paints, but what about color tone? I only have a goblin green from the 2000s line to compare but Warcolours’s paint does seem a little darker which for a paint this notorious is worrying.
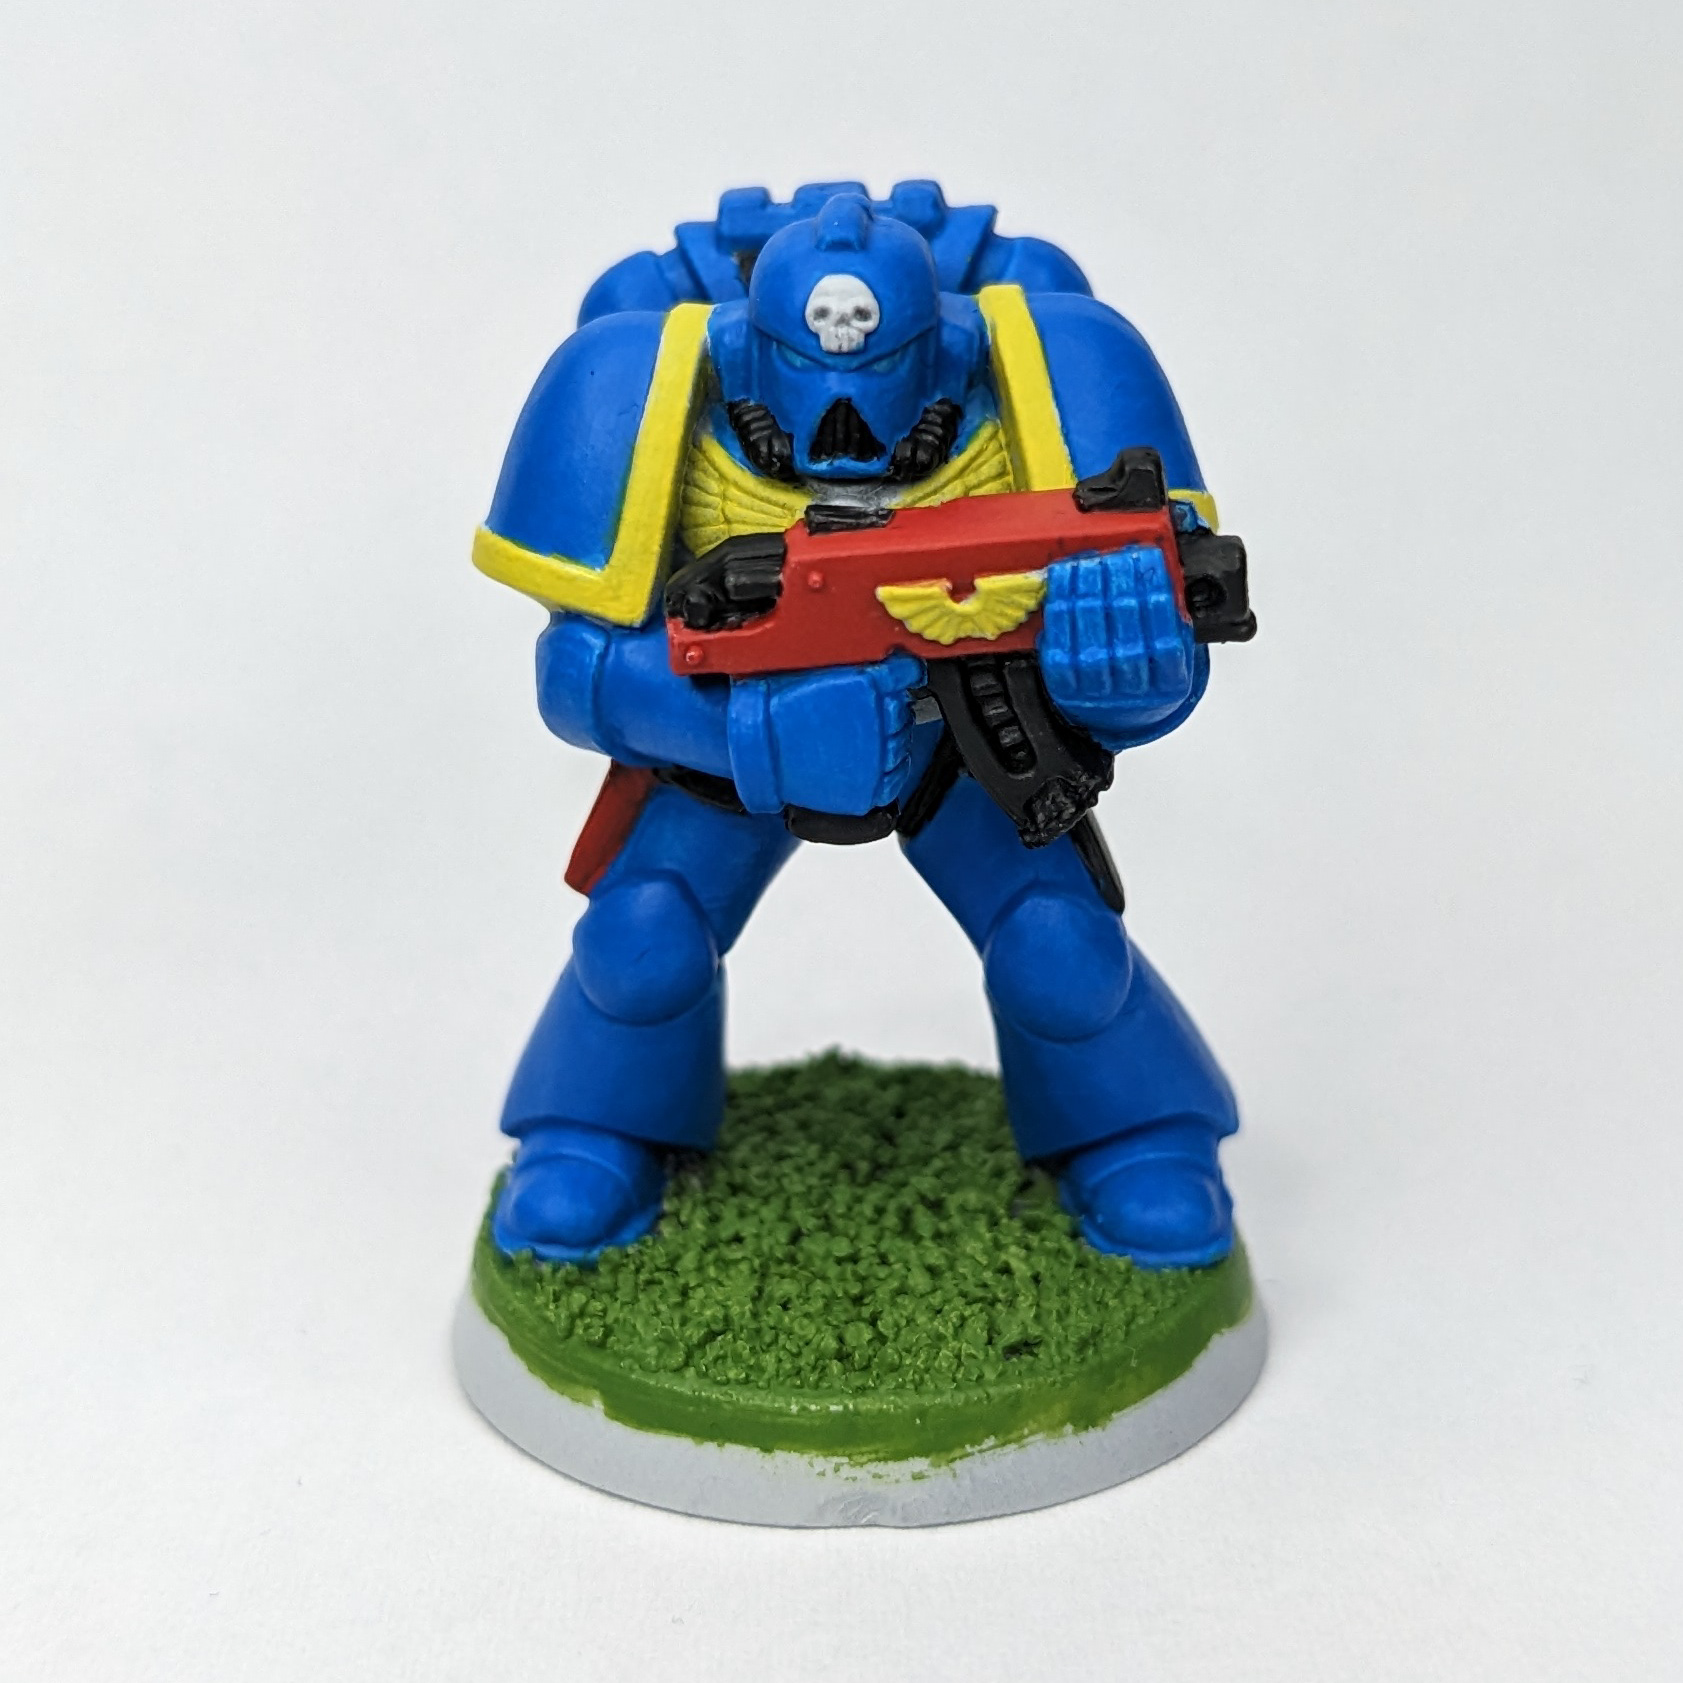
After applying the green, I went on to block in some base colors. In Midwinter Minis review of the original paint set, Guy mentioned they weren’t very opaque, this holds true for the Nostalgia Paints as well. When painting your models you need to be neat because it is difficult (though not impossible) to paint over errors afterwards.
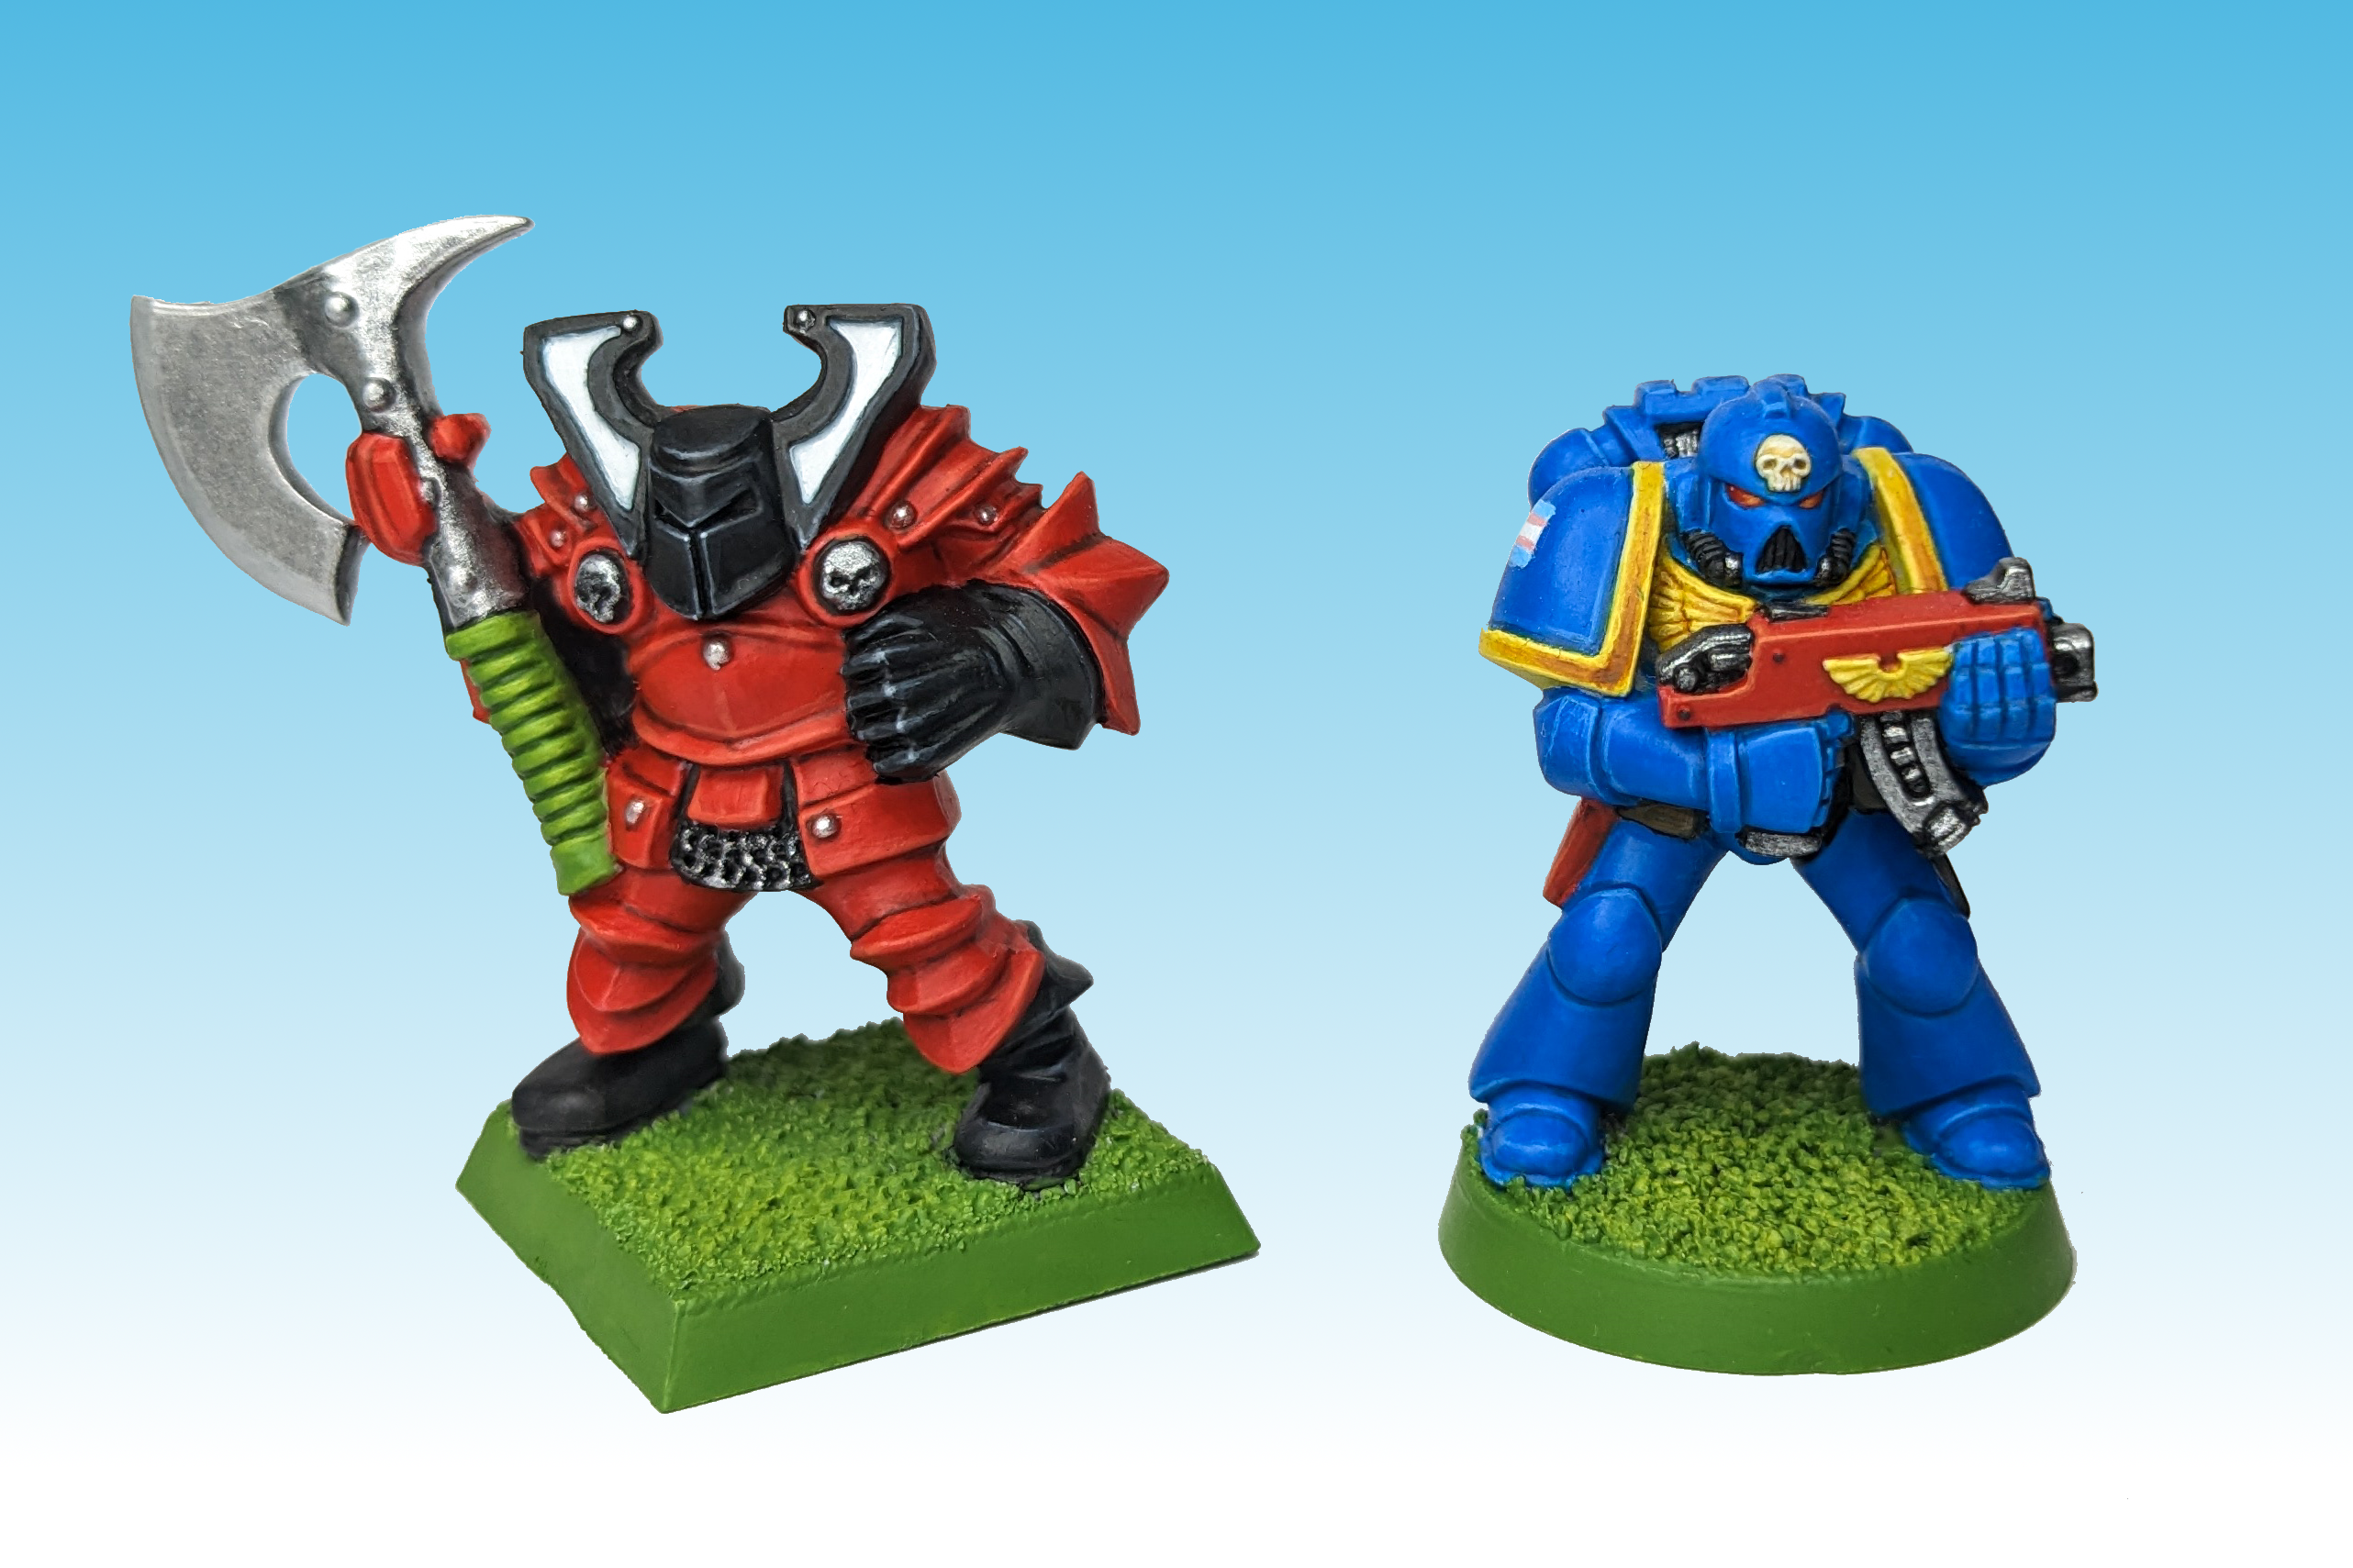
What follows is applying Enchanted blue to the armoured area, leaving out the trims, aquila and little skull on the helmet. Everything that’s going to be metal or greyish, is basecoated with Chaos Black, which covers very well as you would expect. Finally in the last step of basecoating: the gun casing and pistol pouch are each painted with Blood Red, while the pauldron trims and aquilas are given multiple coats of Sunburst Yellow. Now we bring the miniature to life, Mithril Silver is layered over the metal areas, leaving out the recesses to give some artificial shading. To properly shade the armour, we mix a little bit of Chaos Black to the Enchanted Blue, thin it heavily and carefully paint it into all of the recesses of the armor. To shade the trims, we thin down Flesh Wash and glaze some of it in the middle of the trims, similarly can use this to carefully shade the little skull. Moving onto the highlights step, I mixed a bit of Skull White into the Enchanted Blue to edge highlight the blue armor. In a similar vein, Skull White was mixed into both Chaos Black and Sunburst Yellow to highlight the black and yellow areas. For the pouch and gun casing, unless you want a pink highlight, you have to mix Blood Red with Sunburst Yellow rather than white. The last step: the eye lenses. They require atleast a basecoat with Skull White and with Blood Red. You could leave them there, or you could apply some advanced techniques. By slowly glazing in more yellowish red at the front of the lense and then put a dot of Skull White at the back of the lenses.
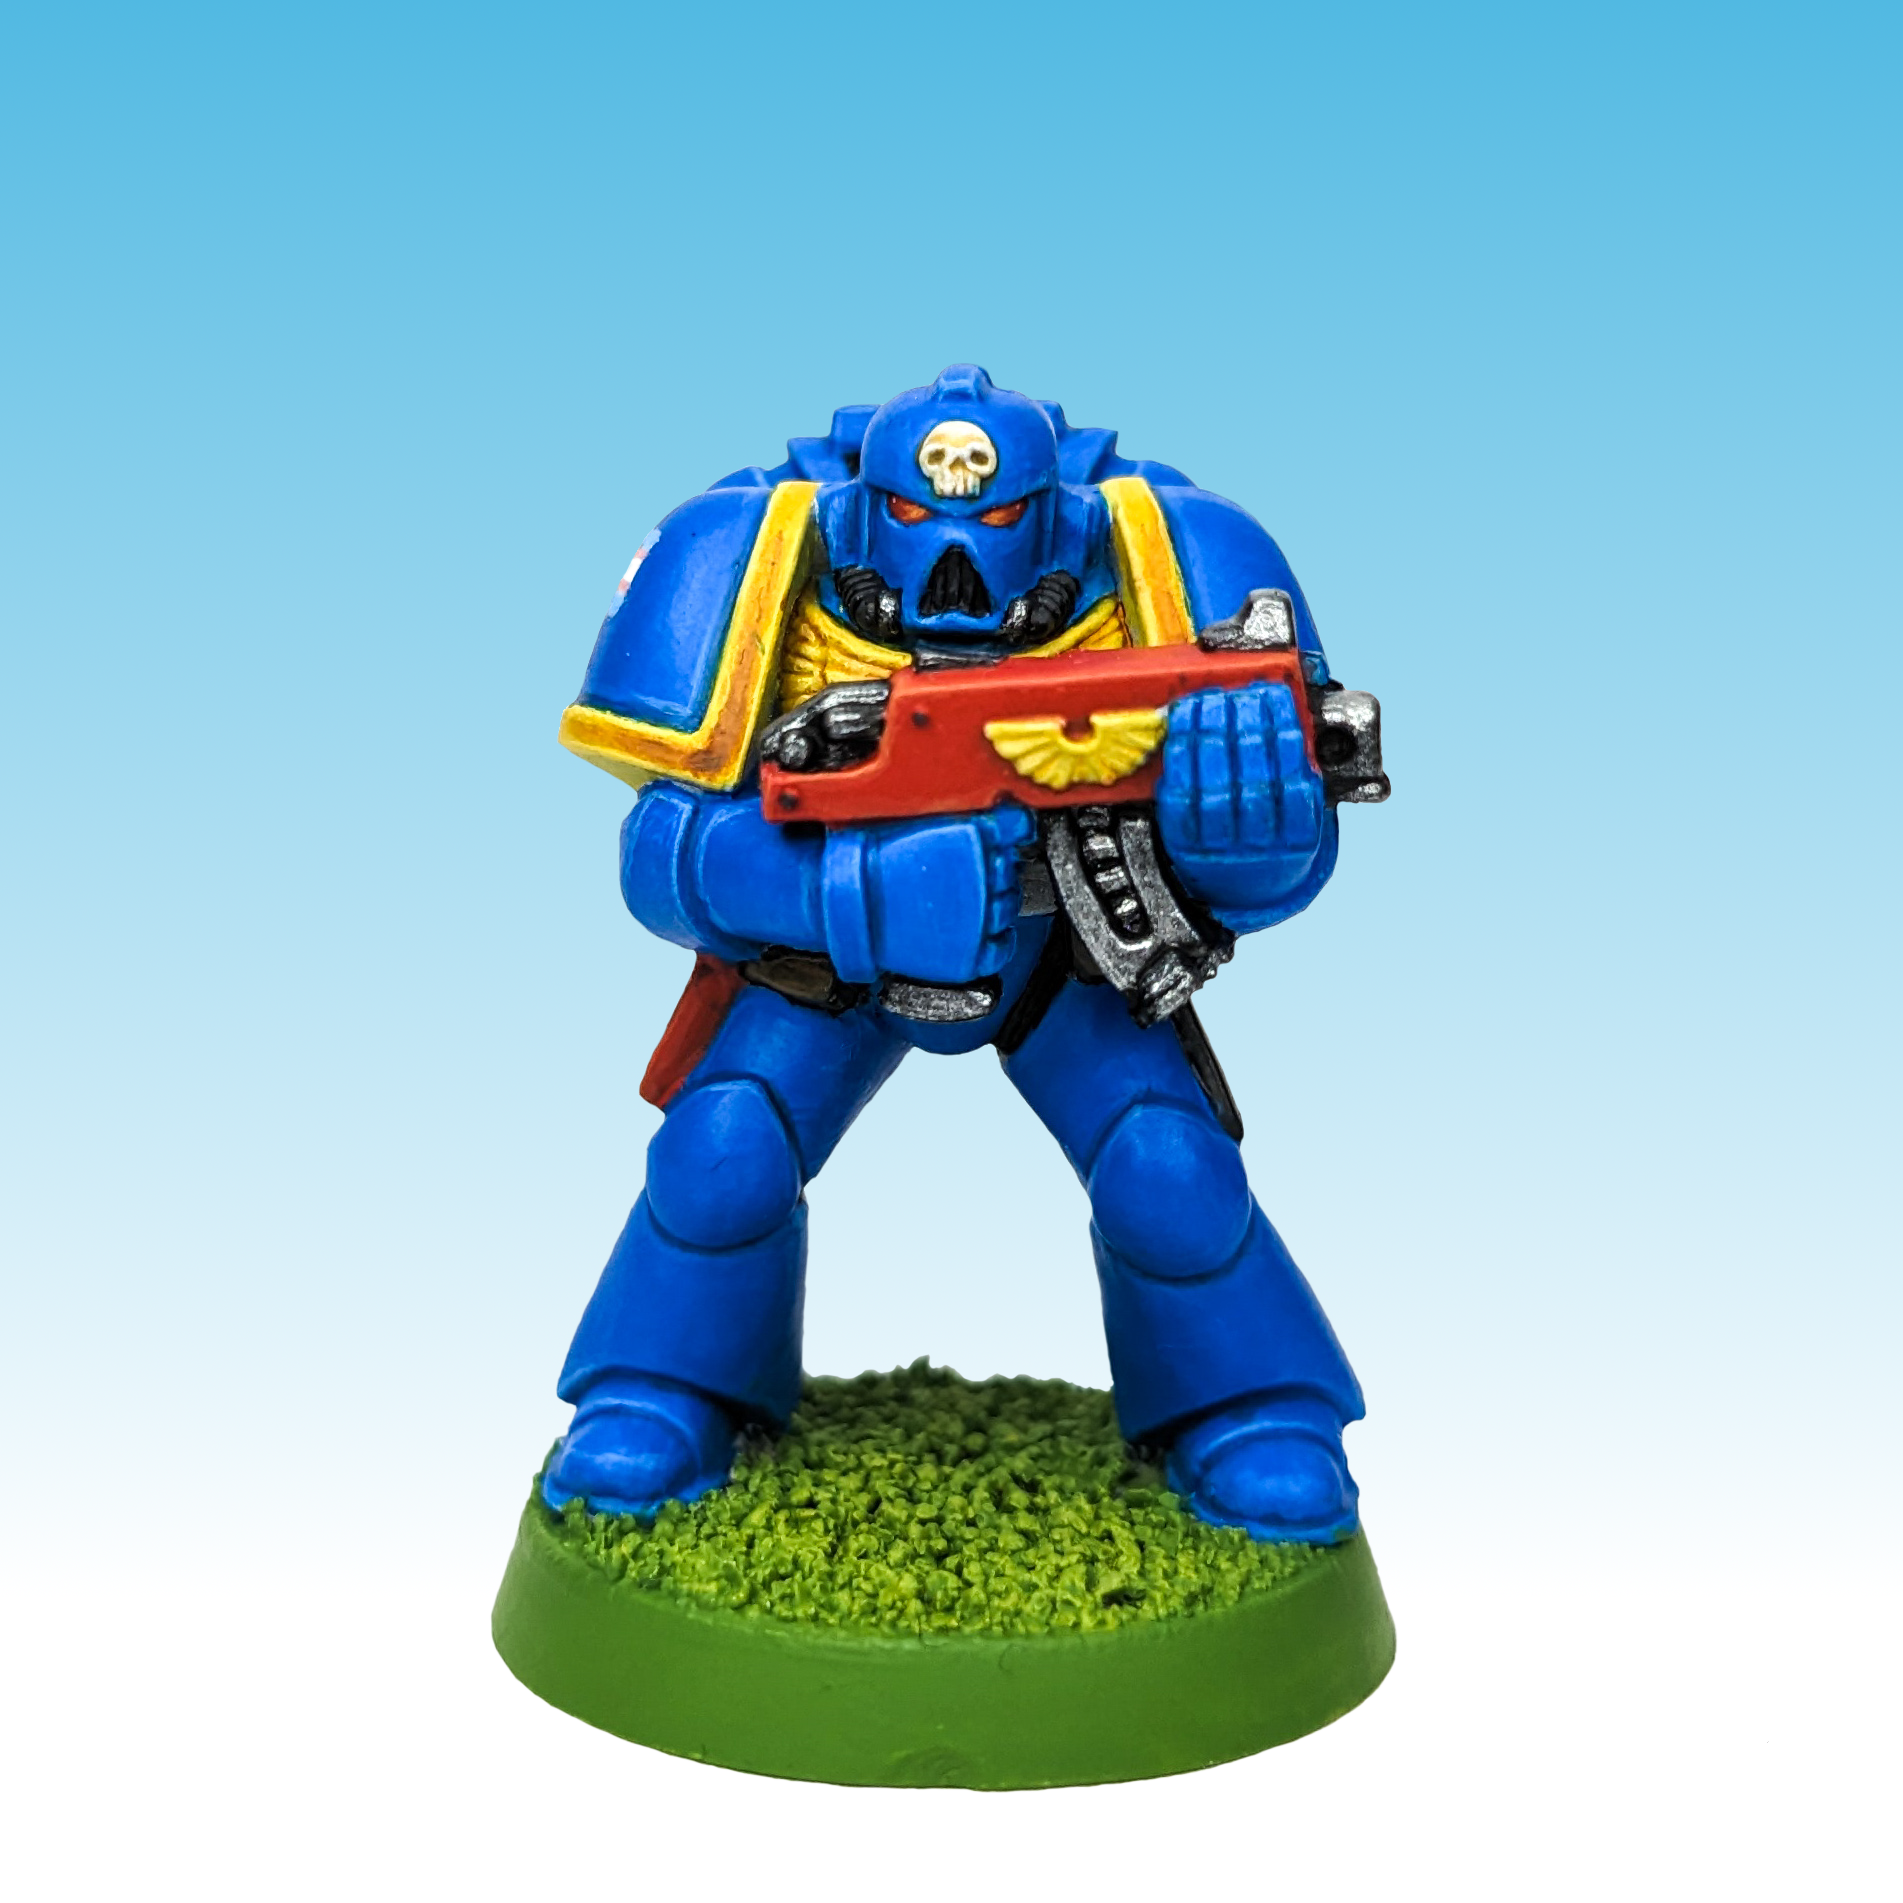
The Space Marine fully painted, so what are my first impressions? Firstly you really need to control your brush and paint slow and careful, it also does need maybe a layer or two more to cover over white than modern paints. The colors are nicely saturated and mix very well, so if youre clever about it this set contains a lot more colors than are listed on the box. My favorite so far has to be the Mithril Silver, despite looking really thin it covers over black in two coats and looks incredible. In my opinion, it is a perfect middleground between the quickly separating Stormhost Silver and Game Colors’s thicc Aluminium.
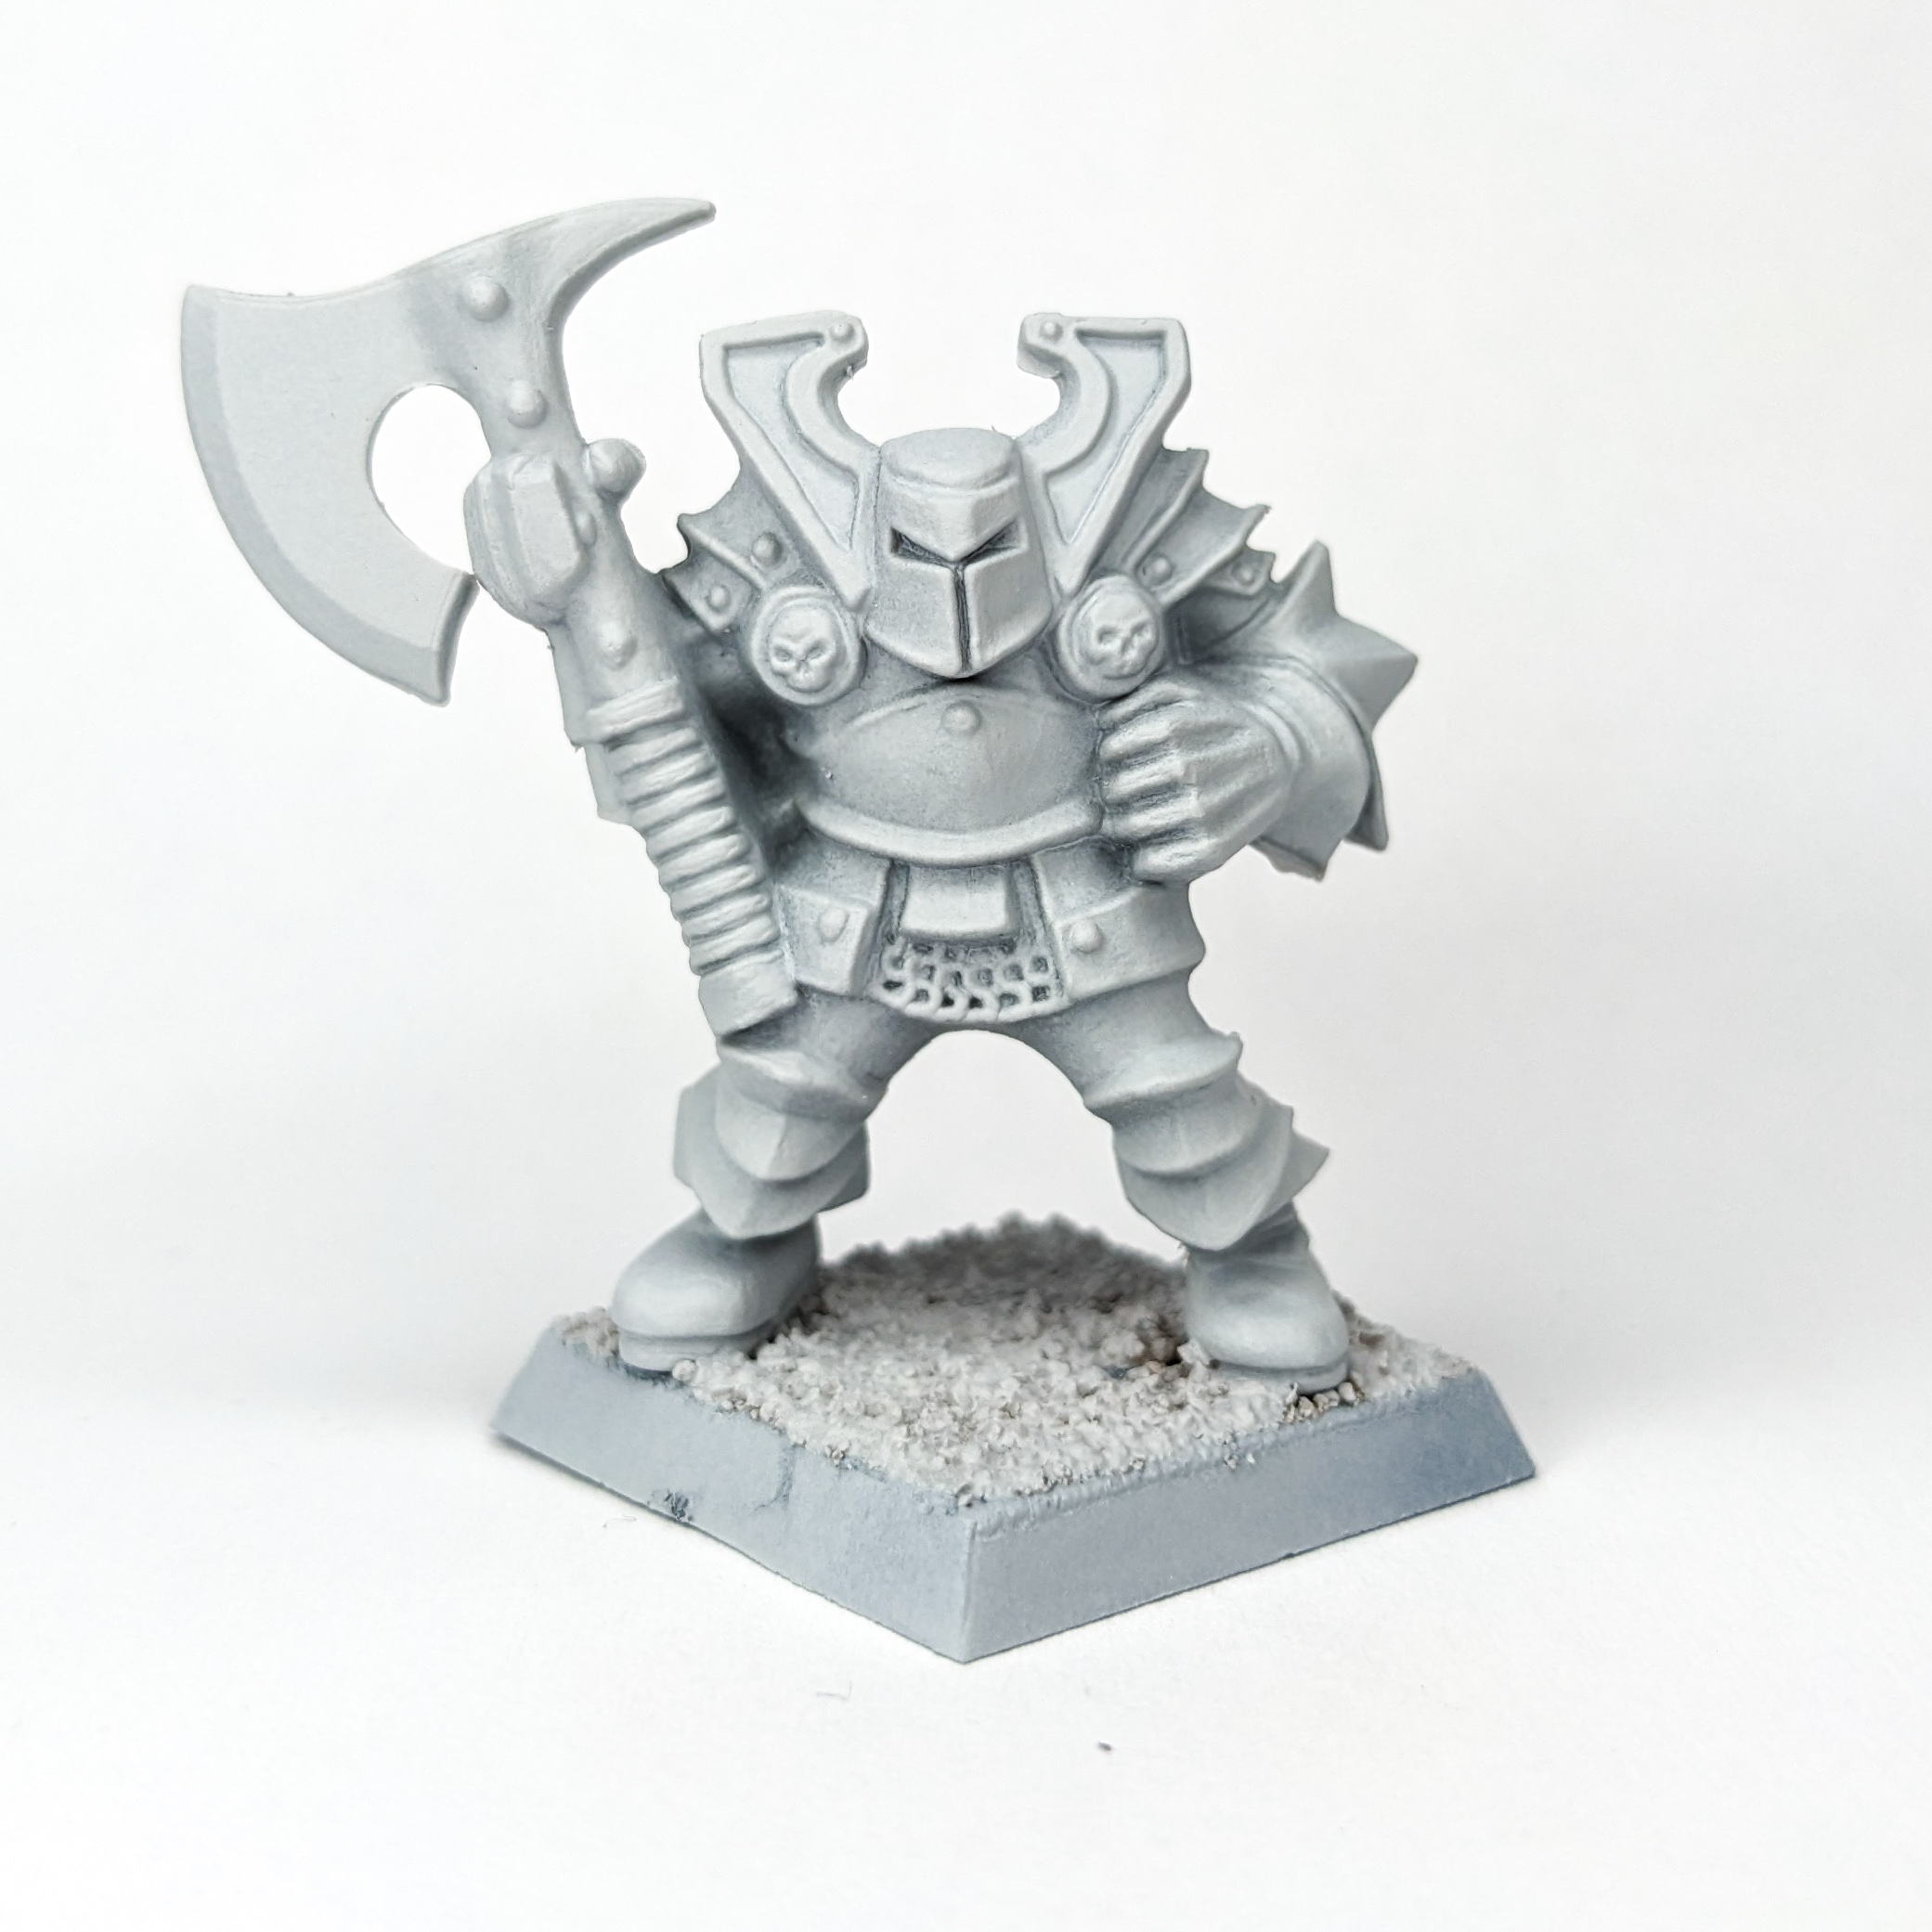
But weren’t there two miniatures in the original paint set? Next up is the Chaos Warrior. Once again I use Midwinter Minis as a rough guide.
First step I basecoate the entire armour in Blood Red. Note that this guy is wearing two different gloves, the left one is a gauntlet and the right a leather glove, so only paint the left one red. Next is the glove, boots, metal areas and helmet, we paint these with Chaos Black. As before be careful, any overpaint will take a way more fixing than you are used to. I also made the decision of leaving the inner areas of the Chaos Warrior’s bunny ears white.
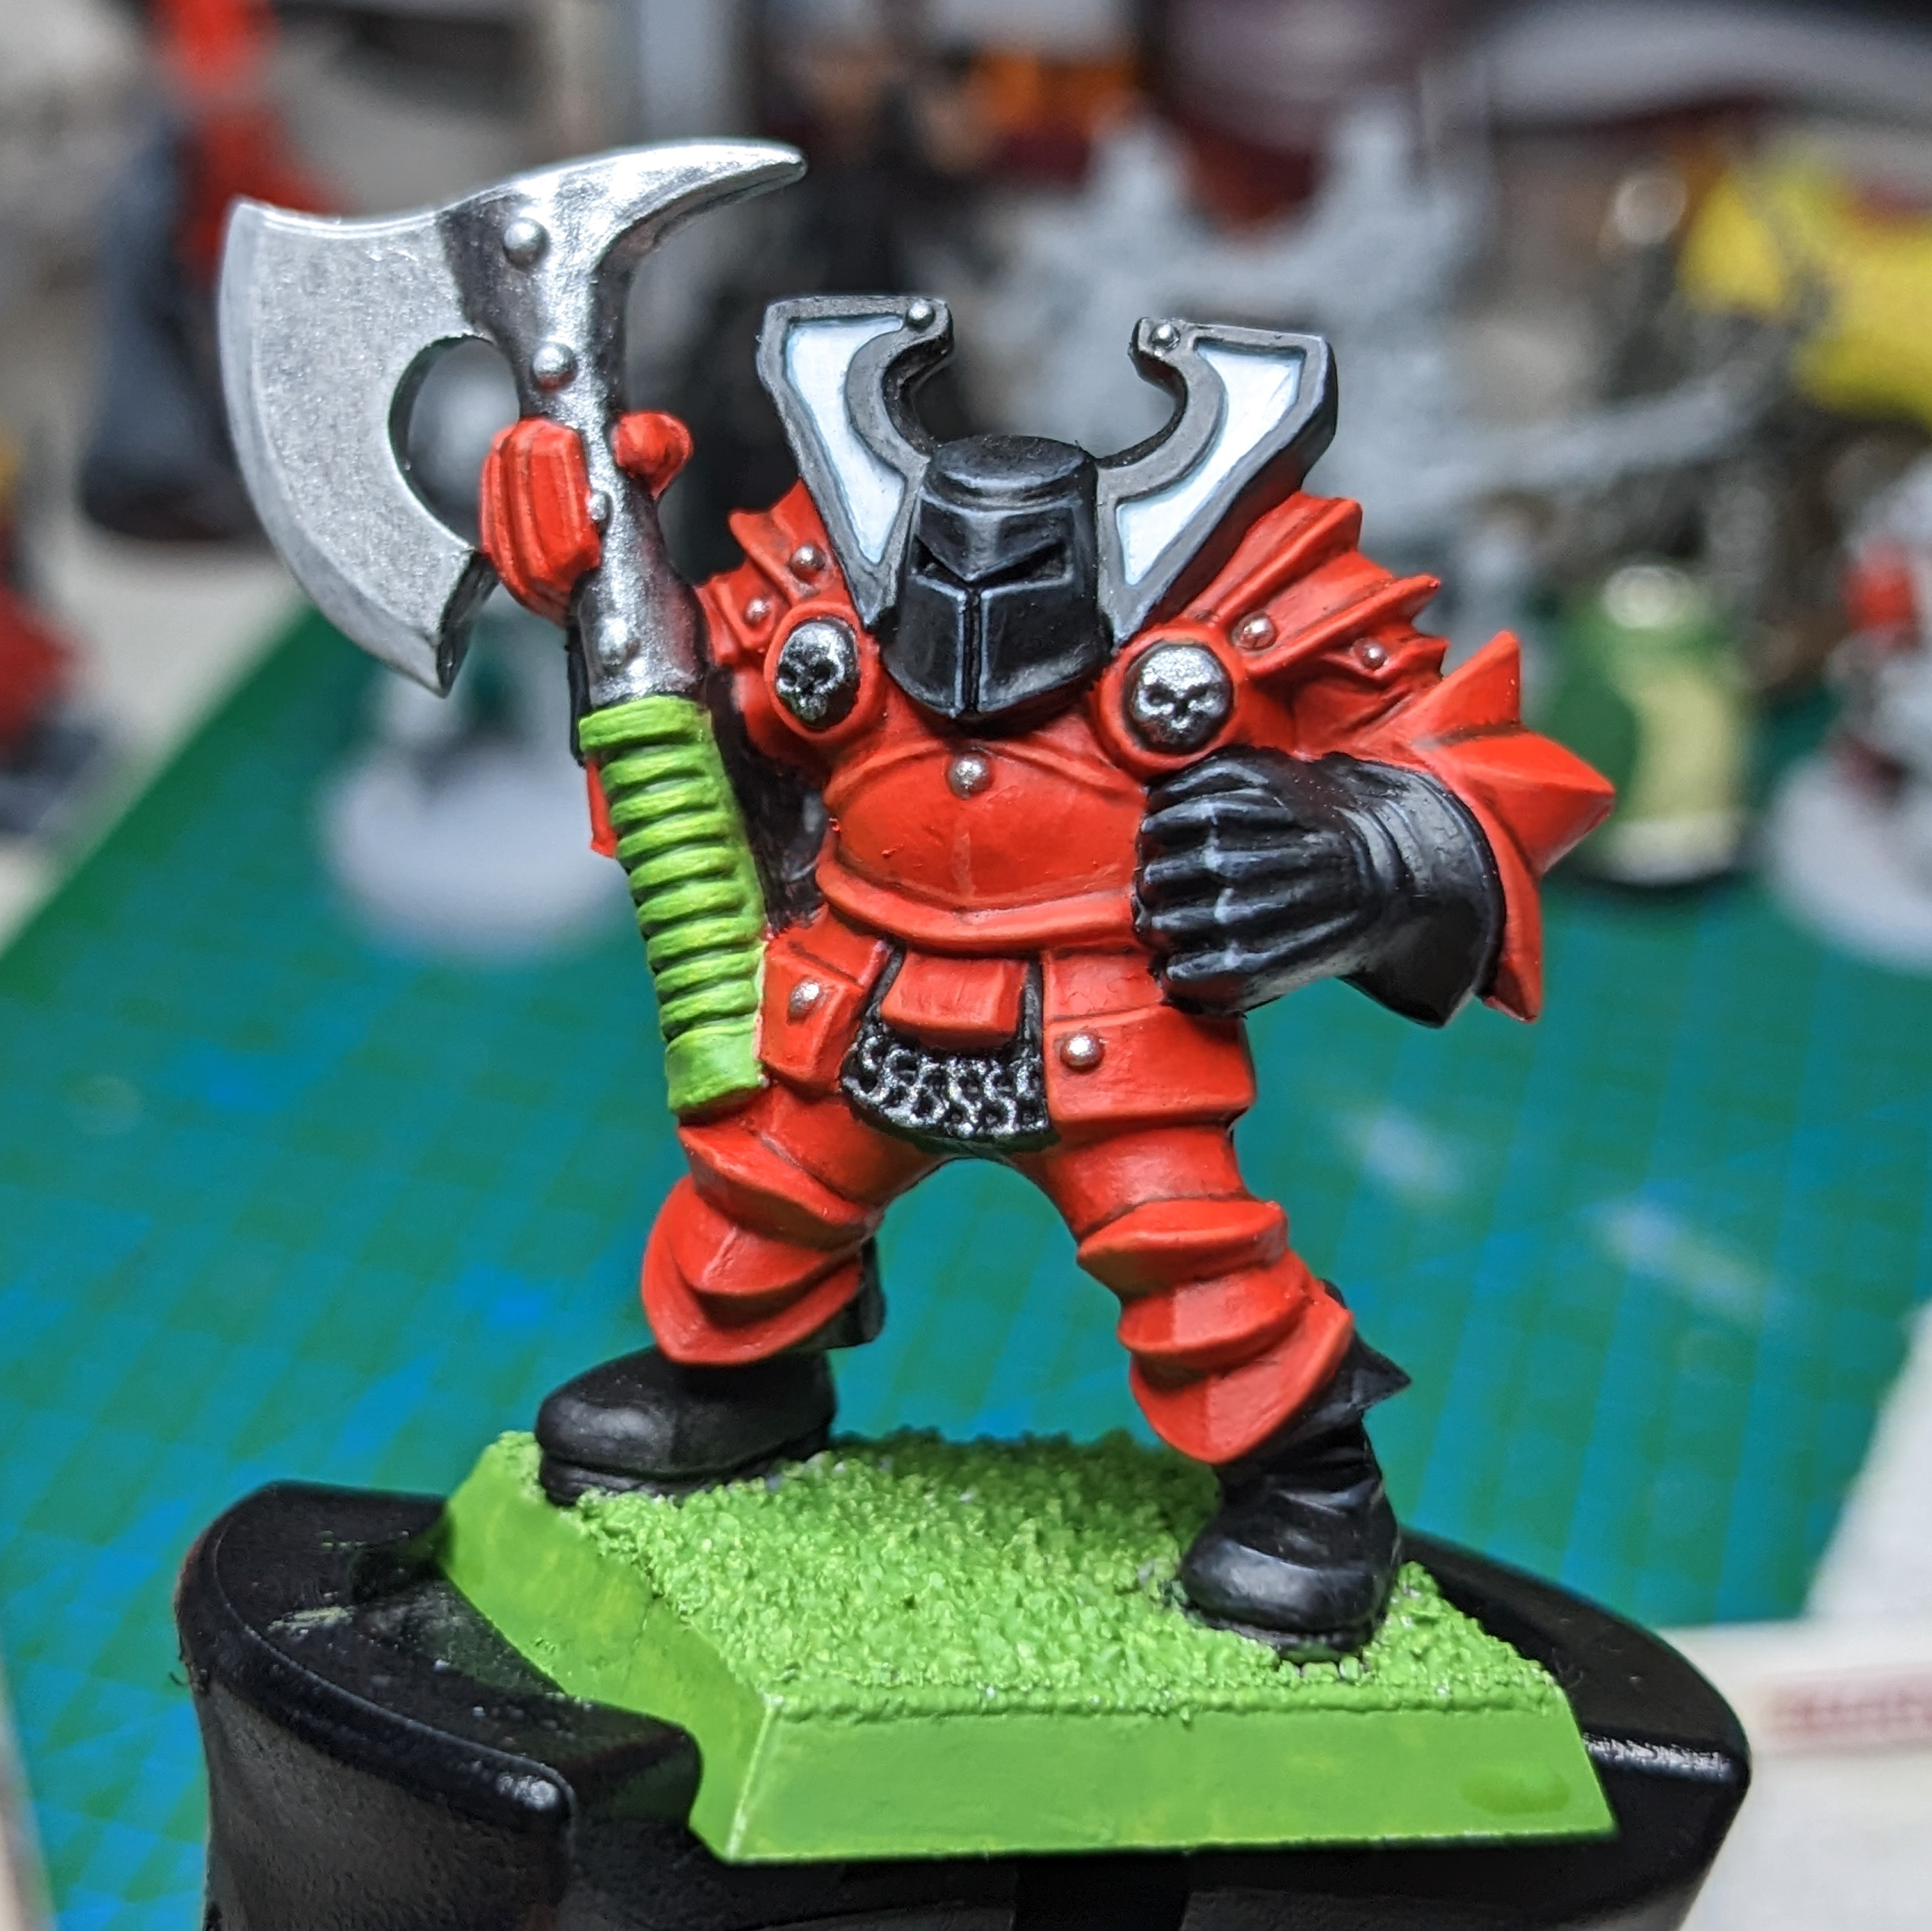
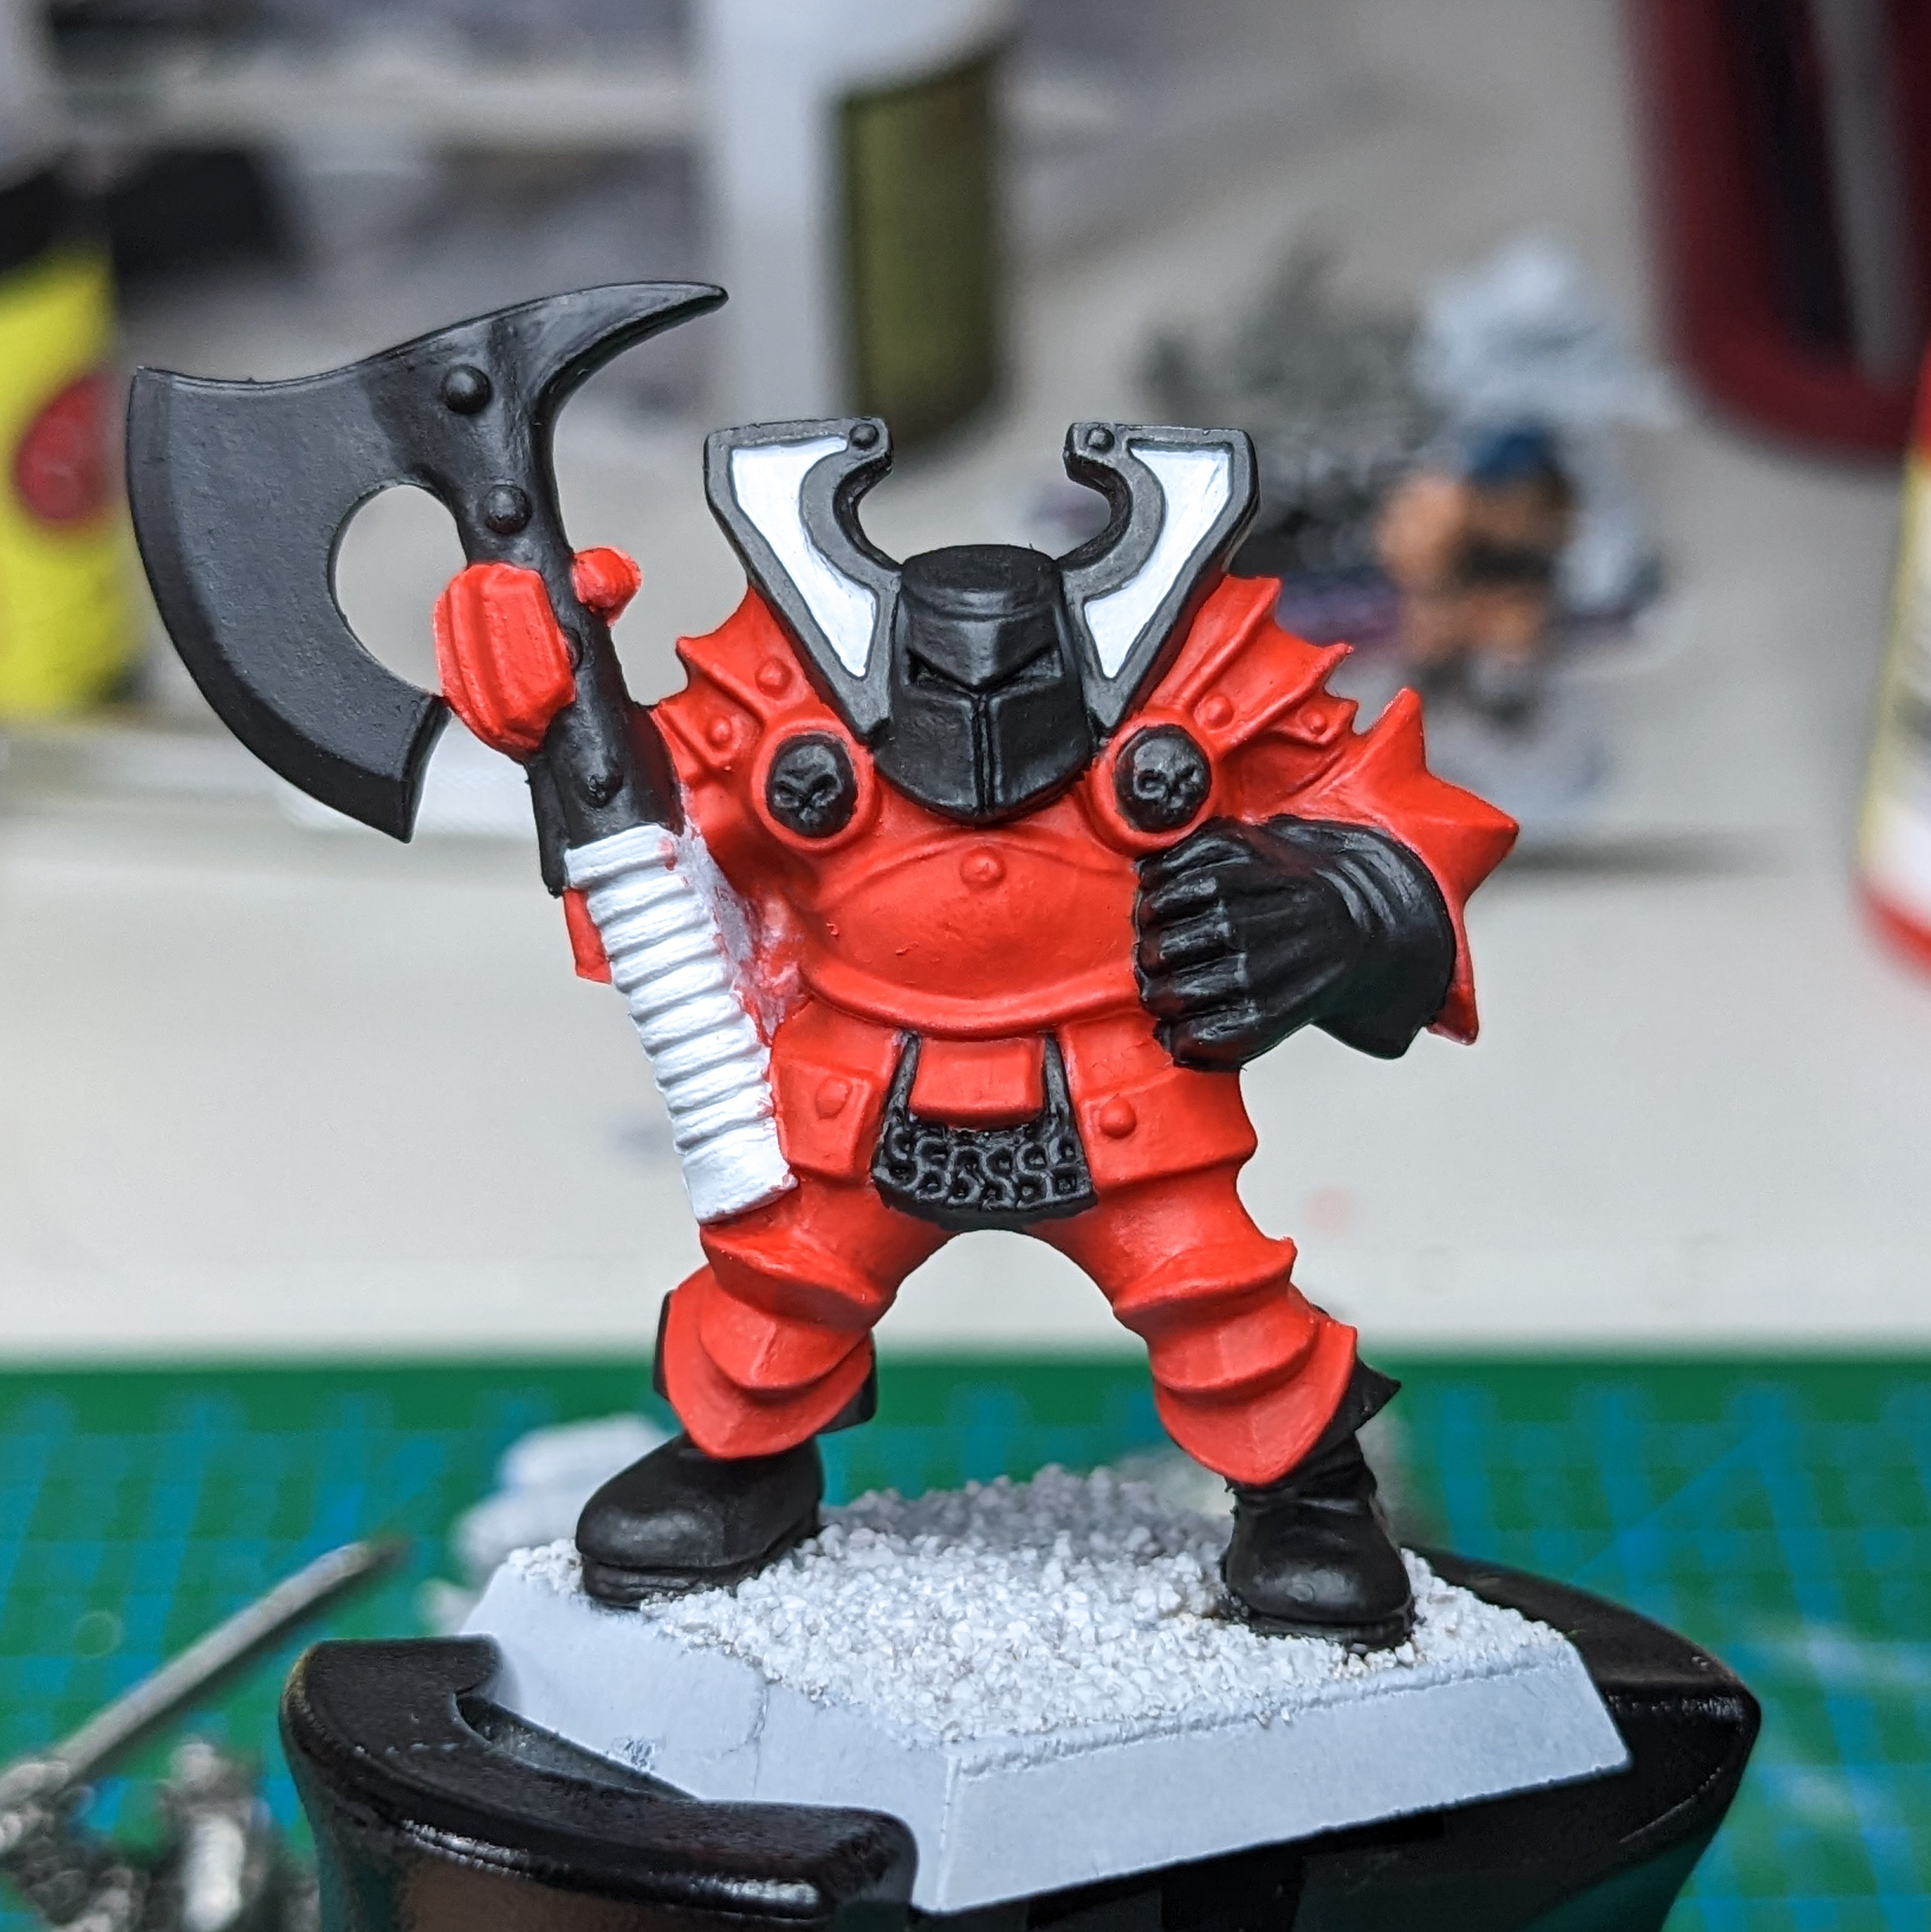
Once its all dry, we can start shading the armor. We mix Blood Red with just a little Chaos Black and then carefully paint in all the recesses, note that if you want to give the iron studs more highlight also shade around them by outlining them with our mixture. After that I mixed Blood Red and Sunburst Yellow in increasing amounts of yellow and used it to highlight the edges of the armor. Turning to the metal parts we take Mithril Silver and paint over the axe blade, the chainmail, the skulls on his shoulders and on the metal studs. For further detail I painted some thinned Chaos Black into the skull’s eyesockets and noses and each loop of the chainmail. Now because I thought it was a fun color choice, I also basecoated the axe’s handle with goblin green instead of going for classic leather. Moving on to the leather, it was a simple matter of mixing white into black to make a greyish highlight, similarly I used the grey to softly shade the white of our chaos warriors big floppers. once again for the handle I mixed some Goblin Green with Chaos Black and painted that into the recesses and then highlighted the handle mixing Sunburst Yellow into Goblin Green. In finishing touches, I painted the base in Goblin Green, with some Goblin Green for the Highlights and to mix it up some Goblin Green in the recesses. Goblin Green.
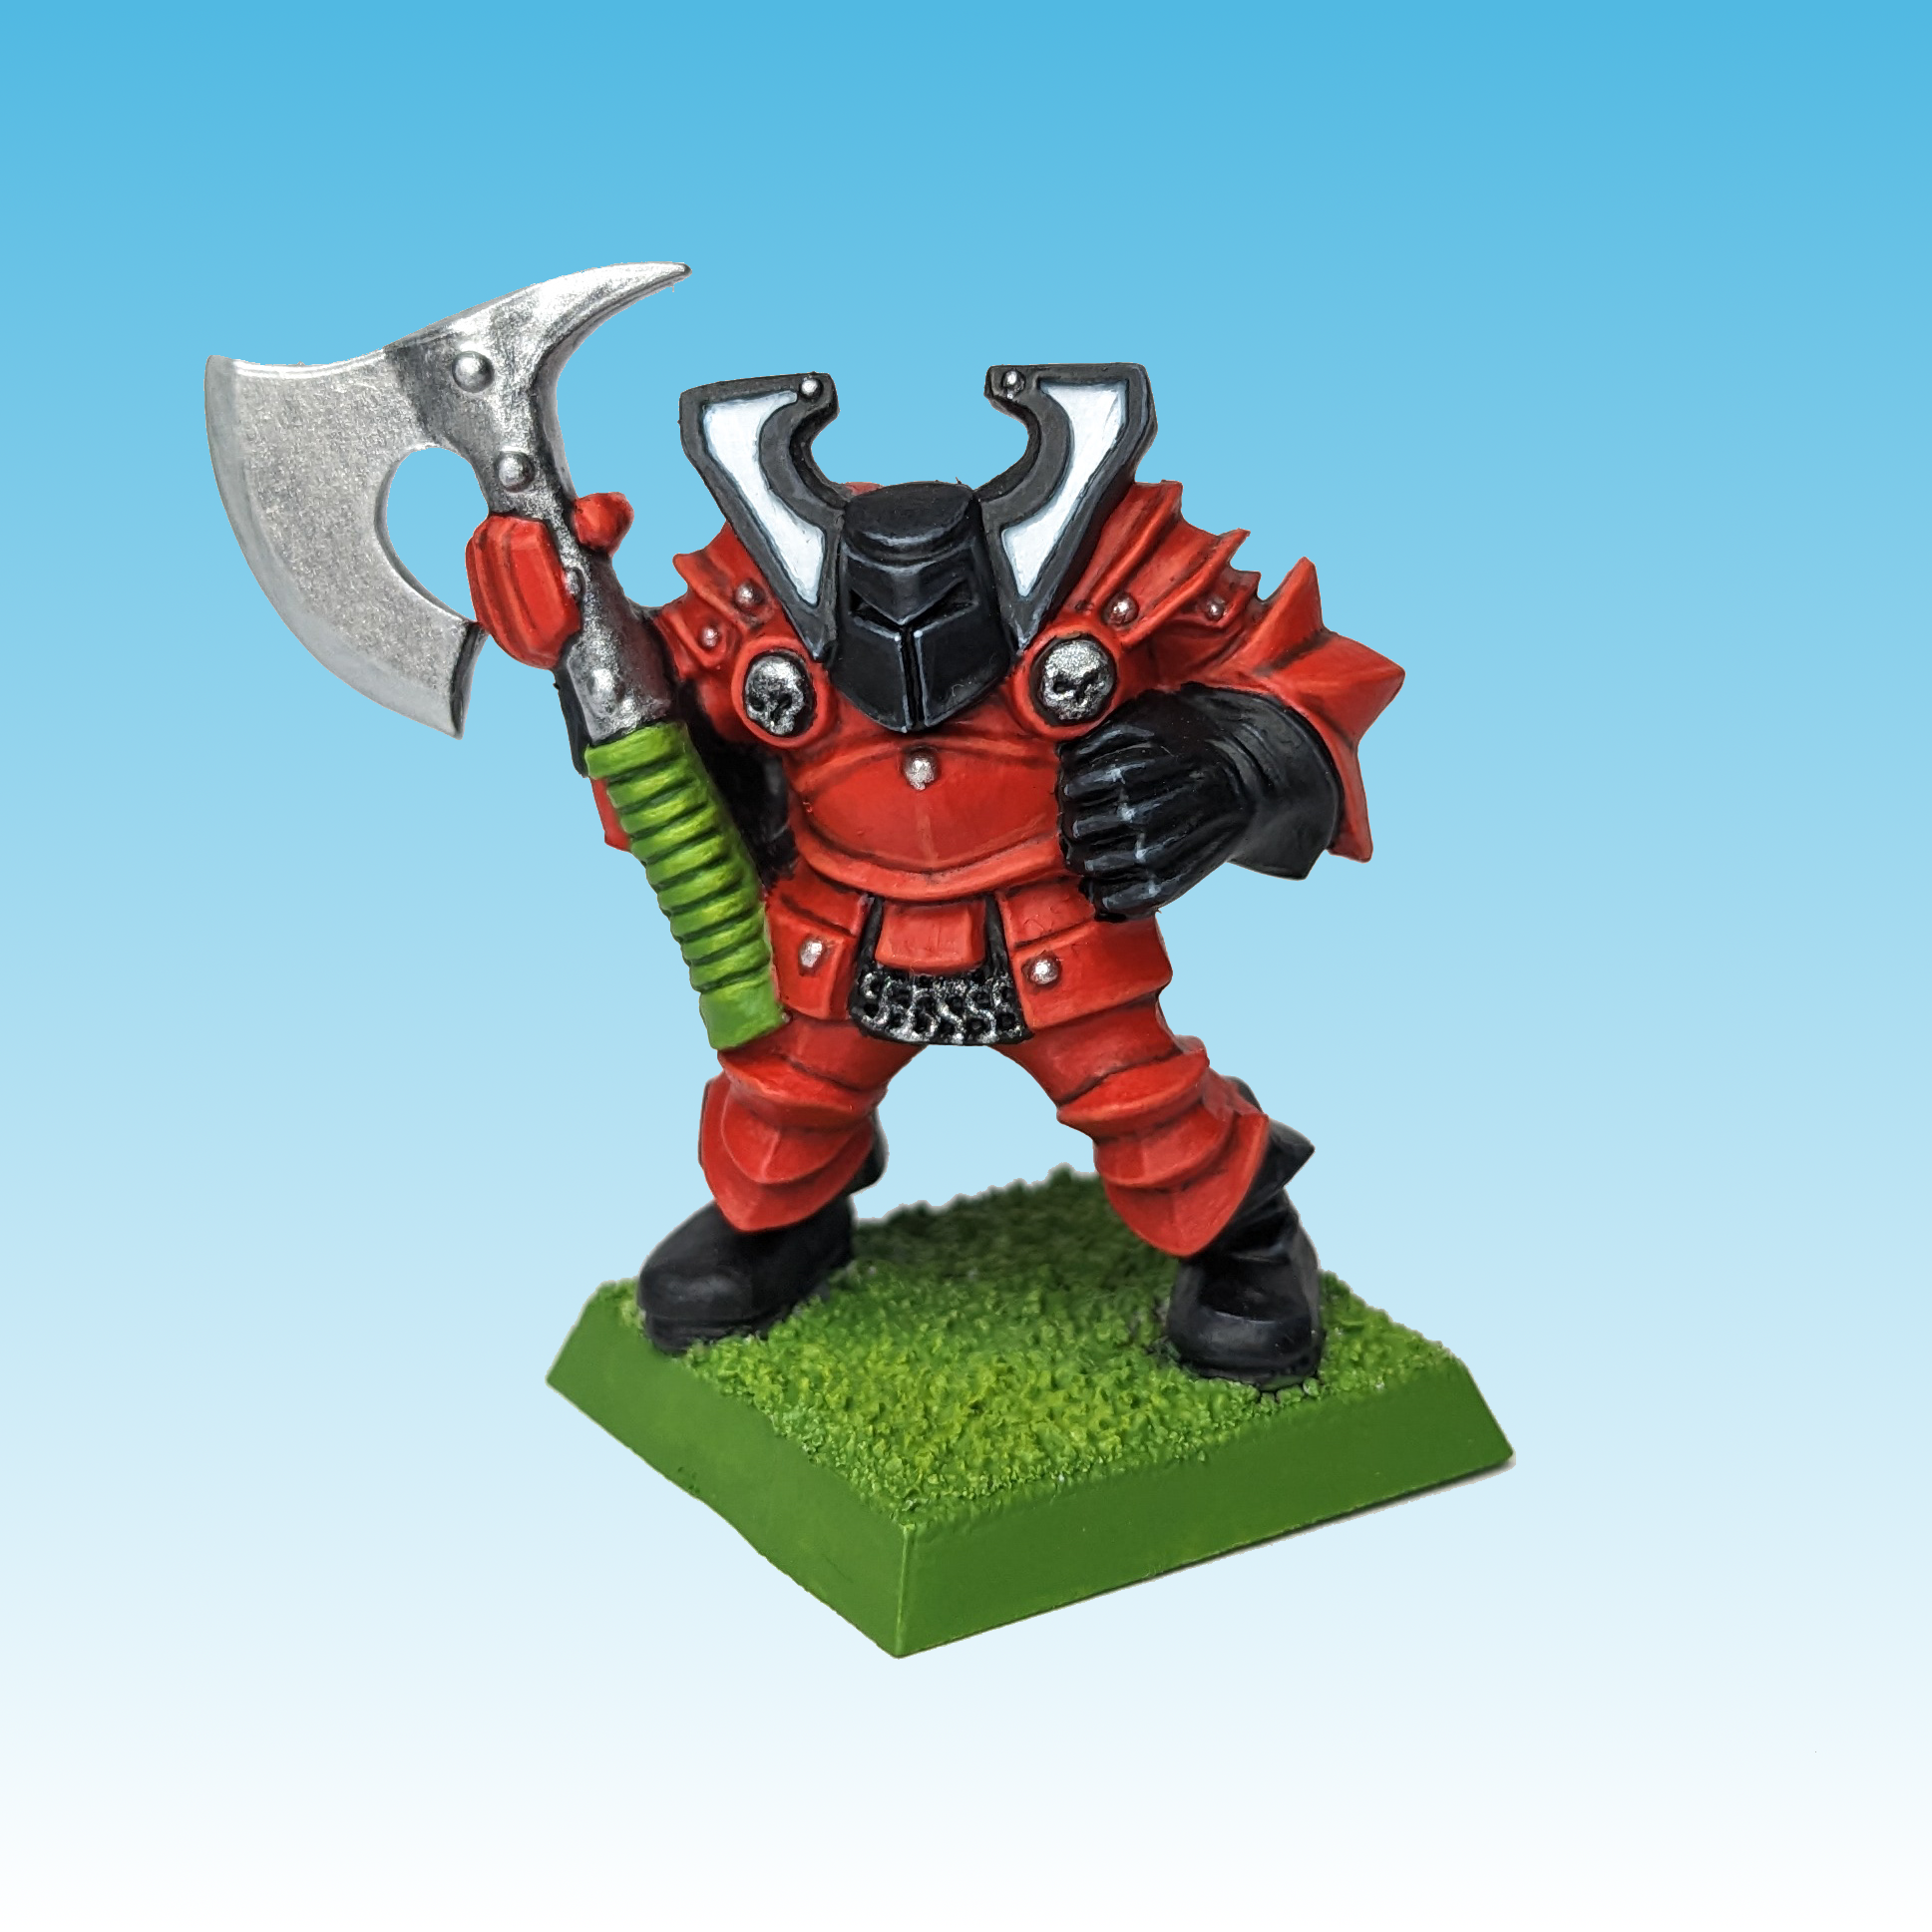
And here’s my Chaos Warrior done, I really enjoyed painting with the red especially, while it requires more layers, you can glaze on it very well.
I do want to take a short moment now to reflect on some of my own nostalgia. I’m only 21 years young, 12 years ago these paints were actually my first paints. My way into the hobby. When I was around 9 years old, my sister and I found our mom’s old Roleplay stuff and among them these paints, (bought for some of her Dark World and DnD miniatures) and the two models. While I now bolster 10 years of painting experience, I still think my mom’s paintjob on these two is way better than what I did. Sadly these miniatures got lost in one of many moves or else I would show them. But yeah, painting these two miniatures really felt nice. It’s that specific kind of nostalgia and feeling I find hard to put into words.
But getting back on topic, we can do more than simple paint jobs, I could not resist and unpack some old miniature to try and paint something more difficult.
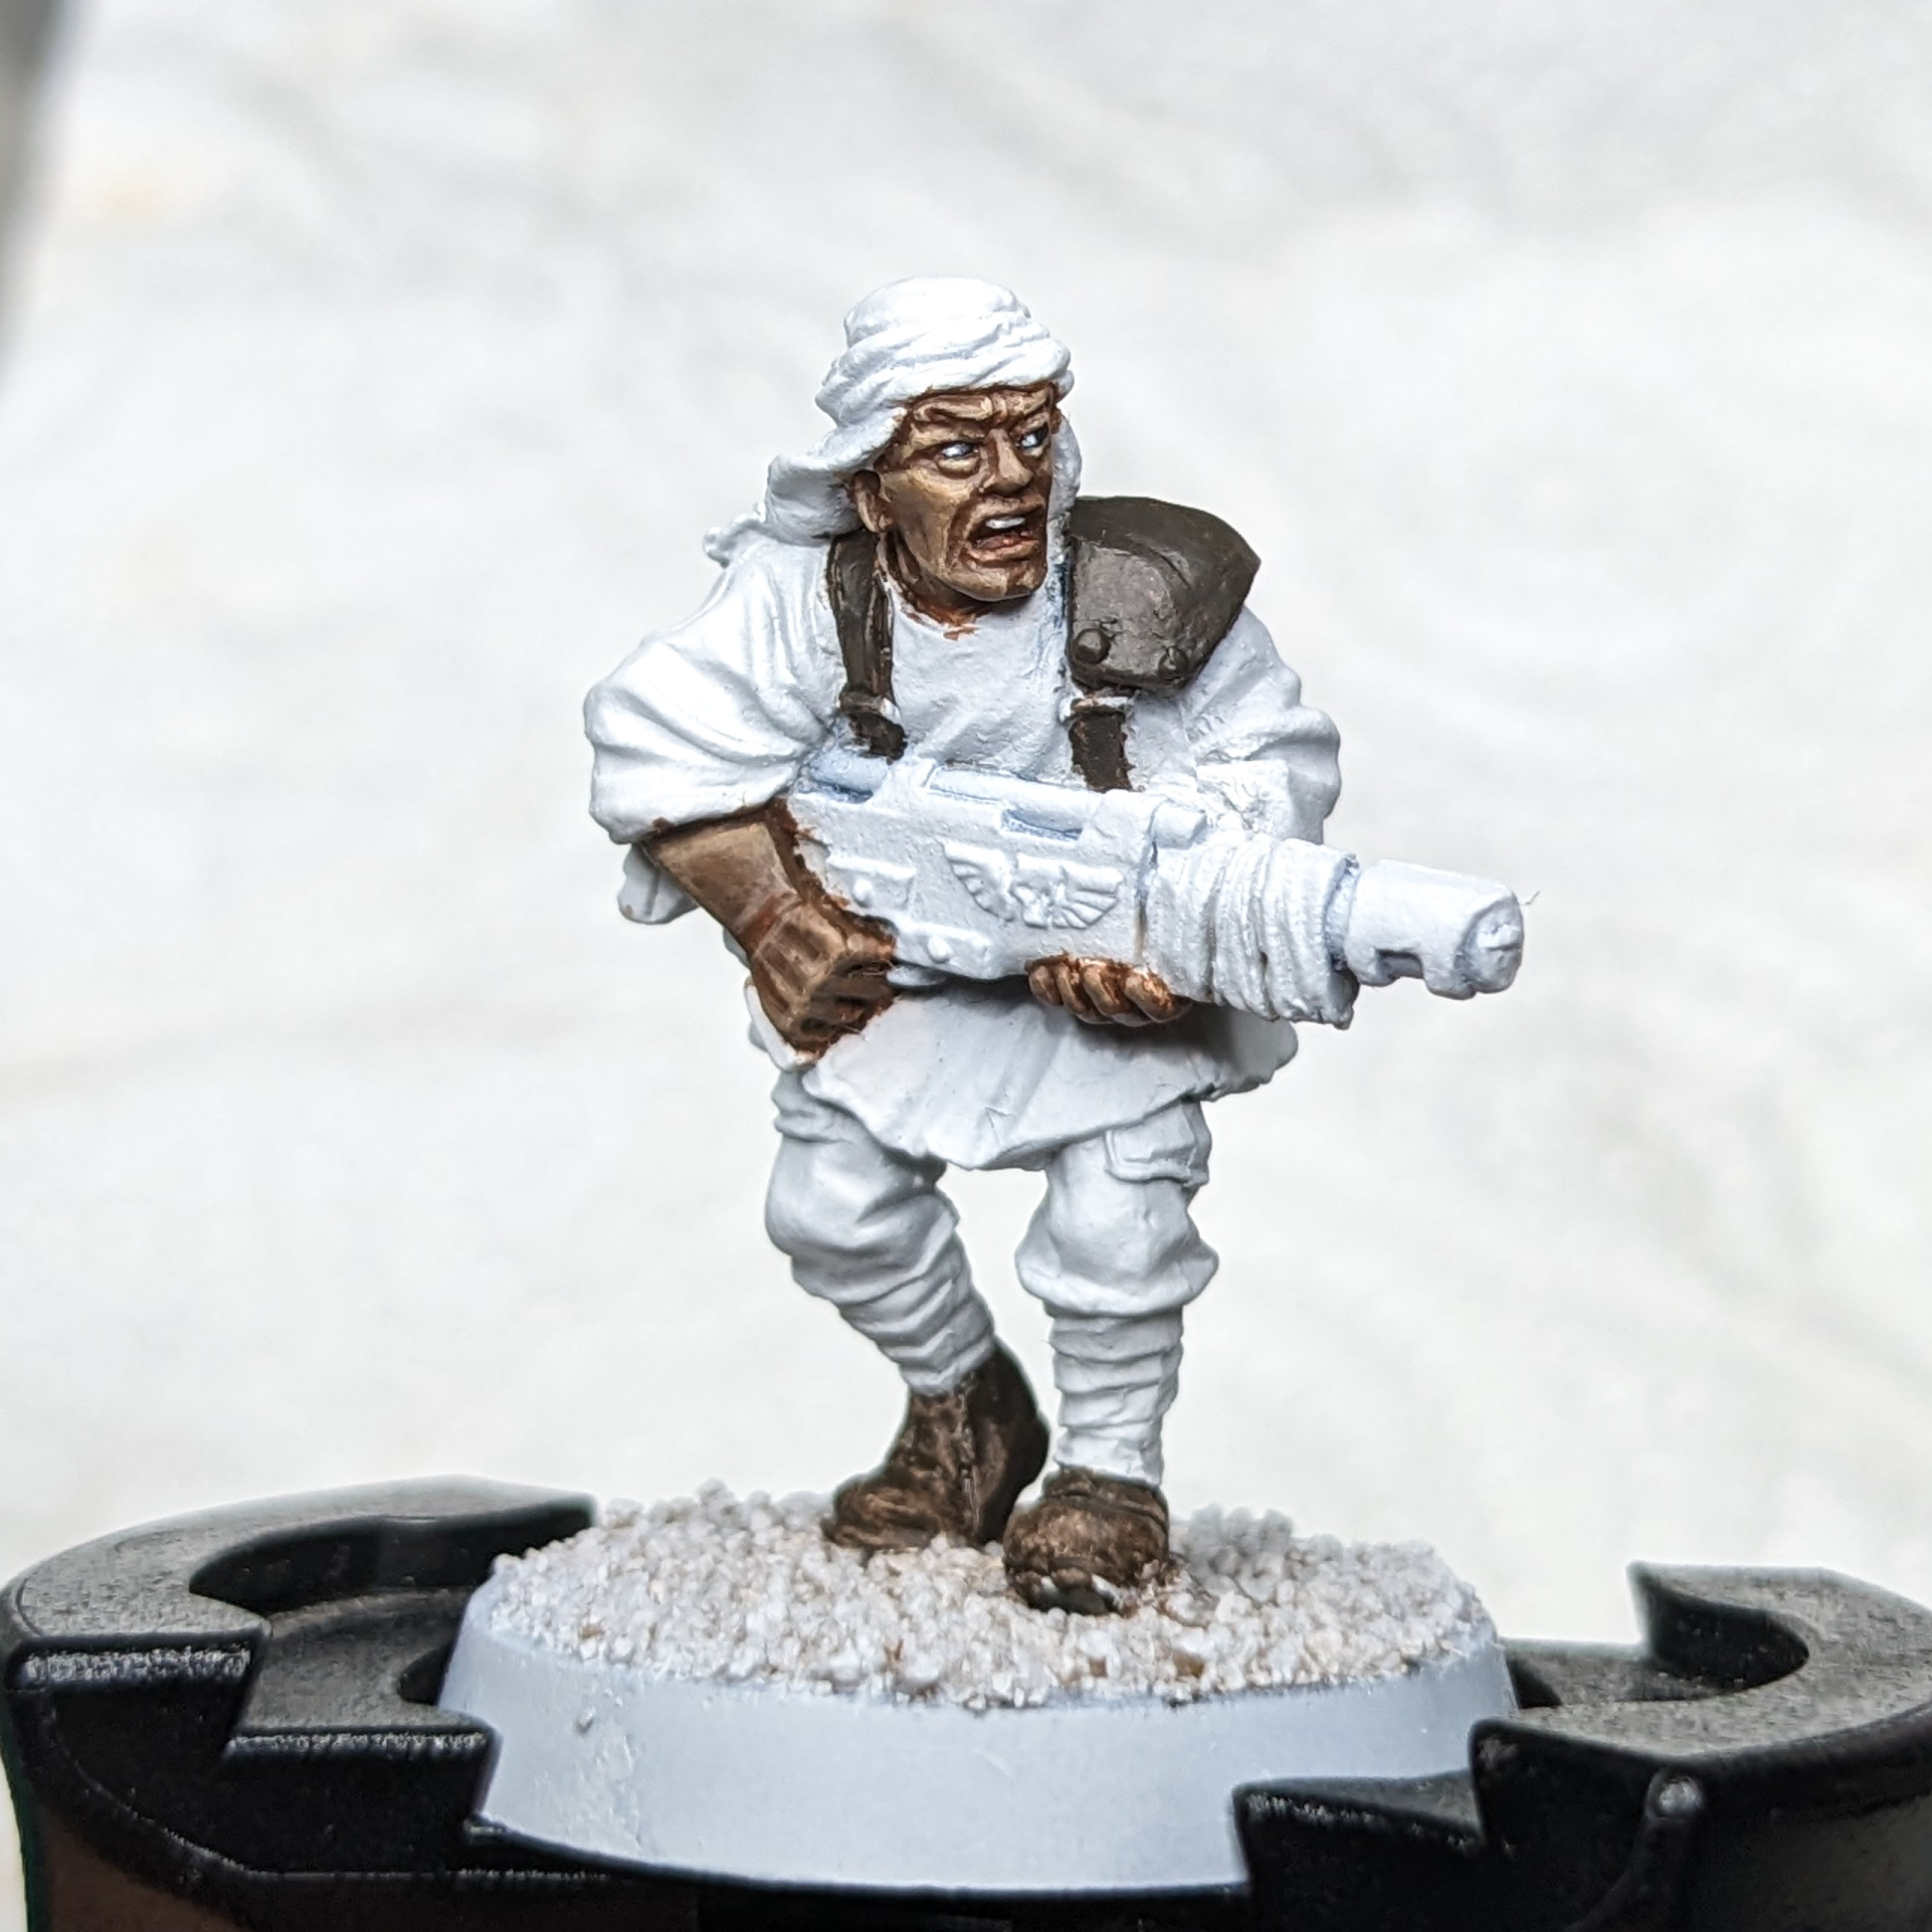
The Tallarn Desert raiders originally were depicted with basically caucasian skin. This always felt a bit odd, considering the Tallarn are clearly inspired by european depictions of Arabic Nomad people. I do not know how realistic that depiction is and do not feel I have any authority to speak on its authenticity. But still it felt like a weird choice of skin tone, so I wanted to paint a Tallarn Raider with a more darker skin colour. Sadly due to continueing the names of the original range, there likely won’t be any paint named Dark Flesh or such and it is up to you to mix your own or use the less appropriately named Leprous Brown or Bestial Brown. It is possible to achieve relatively nice results with Skull White, Serpentbite Leather, Blood Red, Bronzed Flesh, Chaos Black and Sunburst yellow, It simply comes down to finding the right balance of Serpentbite Leather, Blood Red and Chaos Black to get a nice basecoat and from there on mix in more Blood Red, Sunburst Yellow and Bronzed Flesh and glaze that on the raise areas of the skin and lastly add little amounts of white for the most highlighted areas of skin.
Now what’s my opinion on the new paints? Are they good, are they bad? Are they a faithful recreation? And most importantly, does Flesh Wash still smell like that???? In general, I really enjoy these and they have already become a staple of my painting palette. While I do find the low opacity to require some rethinking in your approach to painting, it is by no means a hindrance and in my opinion a good artistic challenge. In terms of faithful recreation, they mostly are, I do think the formula for Goblin Green is too dark compared to the original. And yes, Flesh Wash still smells like that.
I want to take this last paragraph to express my thanks to Warcolours, not only did they send me this set to review for free, but as mentioned previously, I do have quite a bond to these paints and this set specifically; So I am incredibly grateful for being able to somewhat relive my nostalgia and get the encouragement to paint these two miniatures. Now if this paint set has you excited, I have good news for you, Warcolours gave me a code for our readers to get 10% off their Nostalgia paints and the paint set. The coupon code is: goon94
Have any questions or feedback? Drop us a note in the comments below or email us at contact@goonhammer.com.
